Day 1: Windows Autopilot User-Driven Mode
📌 Today we will discuss about Windows Autopilot with User-Driven Mode. This article provides an overview and step-by-step guidelines to perform a Windows Autopilot user-driven scenario when the devices are strictly Microsoft Entra joined. Link: https://learn.microsoft.com/en-us/autopilot/tutorial/user-driven/azure-ad-join-workflow
I. Theory
- 1/ What is autopilot user-driven mode
Device is used by a single user
User-run deployment
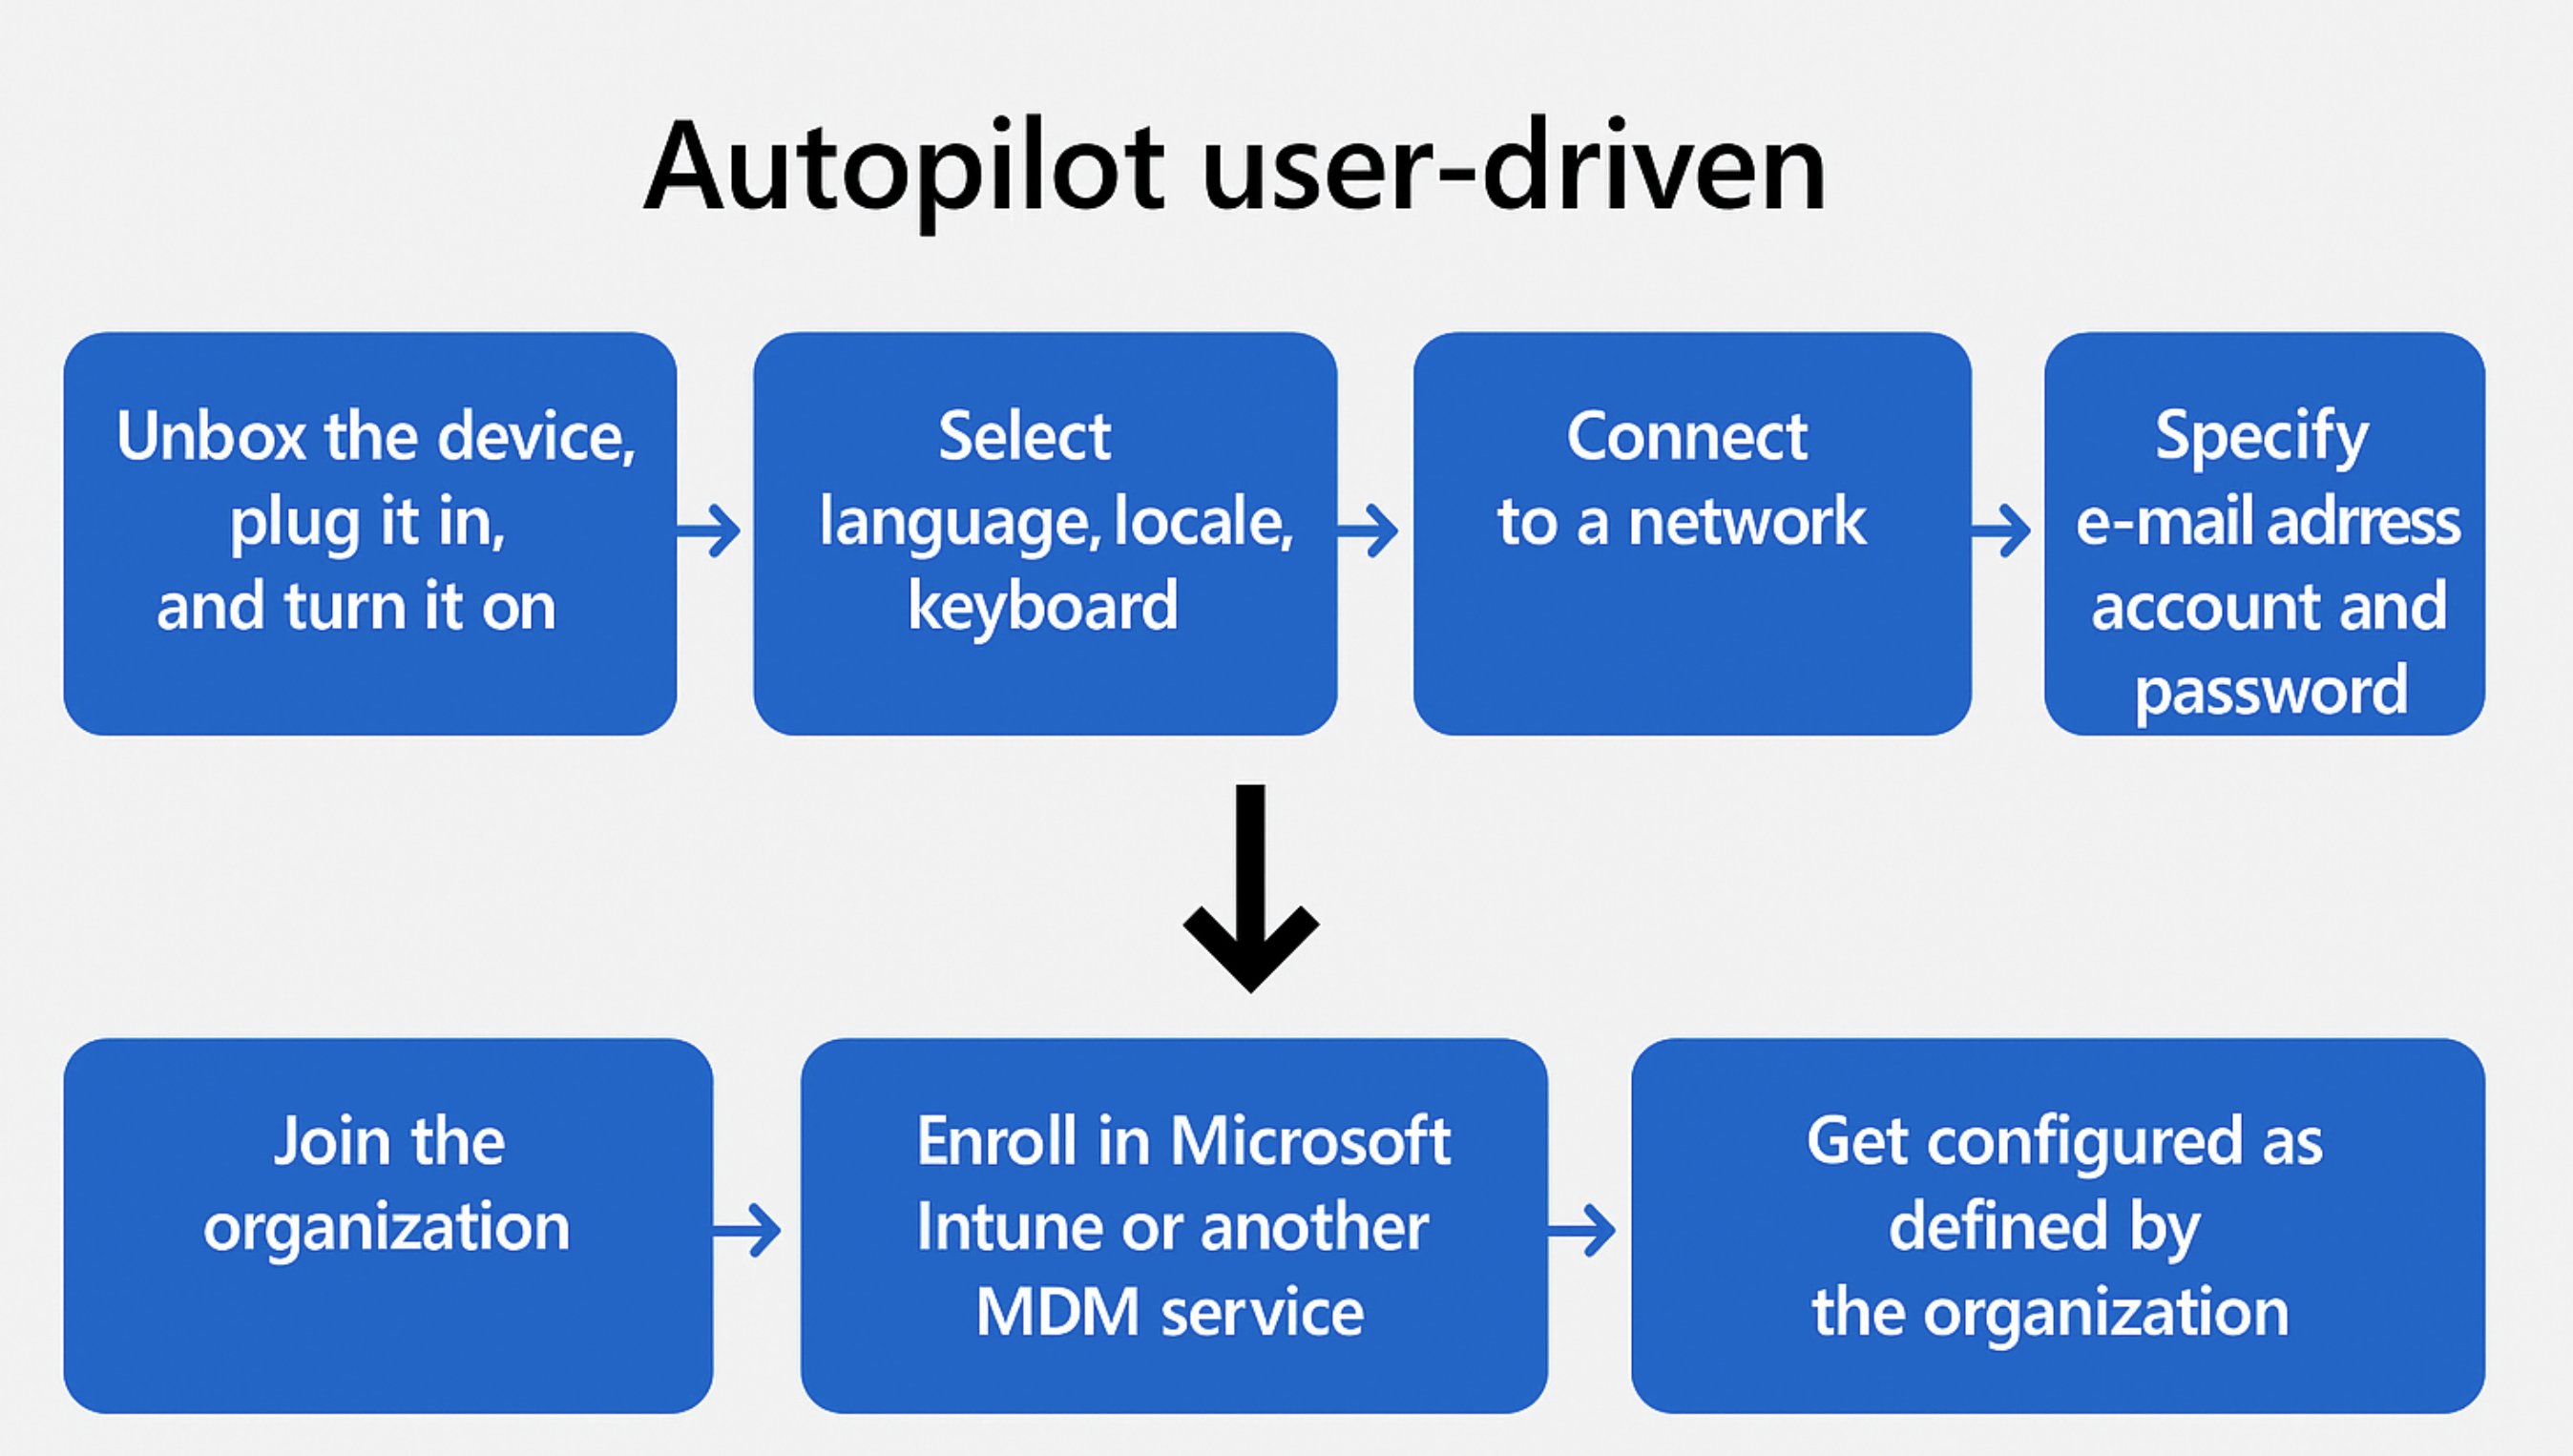
Autopilot User-Driven Mode lets end users set up their devices themselves with minimal IT involvement. After turning on the device and signing in, the device automatically joins the organization, enrolls in Intune, and applies company policies — ready for use.
- 2/ When do we use user-driven mode
- The device will be delivered directly to the end users without IT intervention
Requires no interaction from IT team/OEM/reseller.
The device will be used primarily by a single user
Doesn’t require TPM attestation, so it works on physical devices and VMs.
II. Deployment
Step 1: Set up Windows automatic Intune enrollment
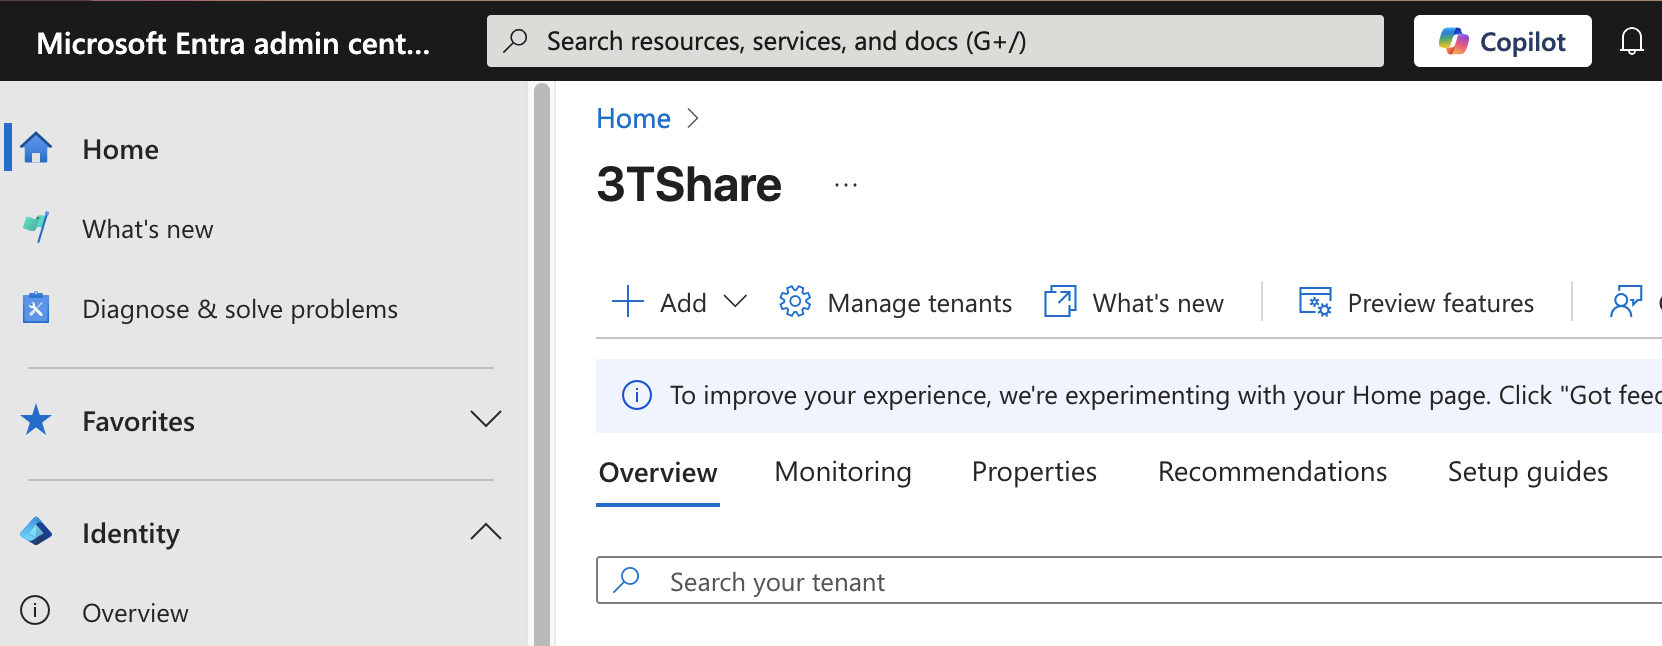
1/ Sign in to the EntraID
2/ In the
EntraIDscreen > search the keywordMDM and WIP,click onMDM and WIP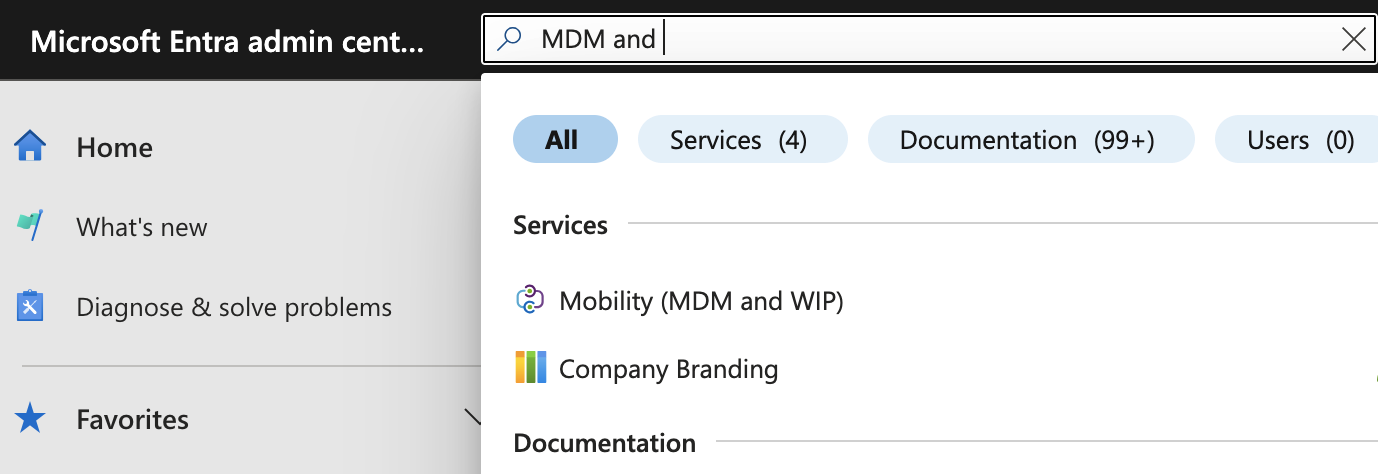
3/ In
Mobility (MDM and WIP)> chooseMicrosoft Intune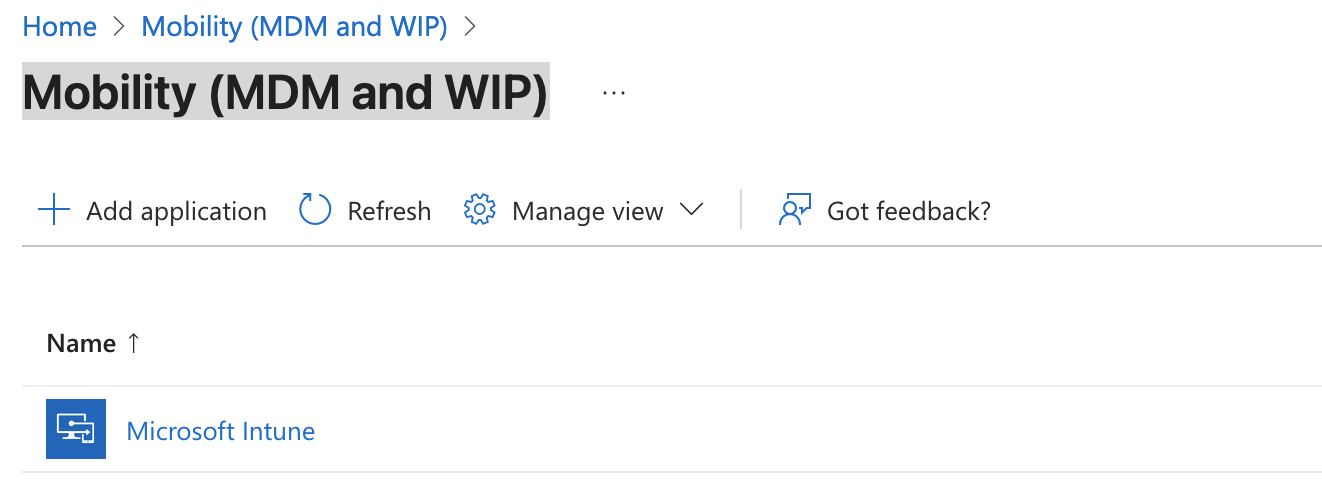
4/ In Microsoft Intune
4.1/ MDM user scope
check
All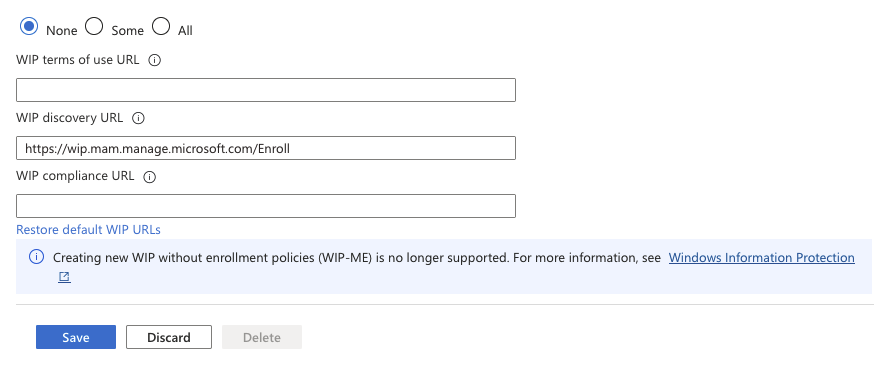
5/ After settings like the picture above, select
Save
Step 2: Allow users to join devices to Microsoft Entra ID
1/ Sign in to the Microsoft Entra ID.
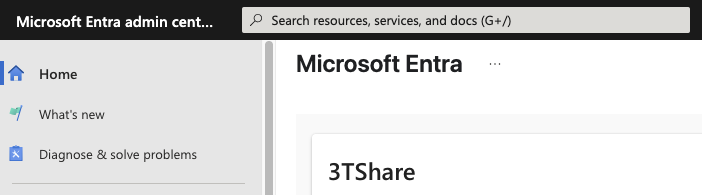
2/ In the
EntraIDscreen, underIdentityin the left hand pane, selectDevices.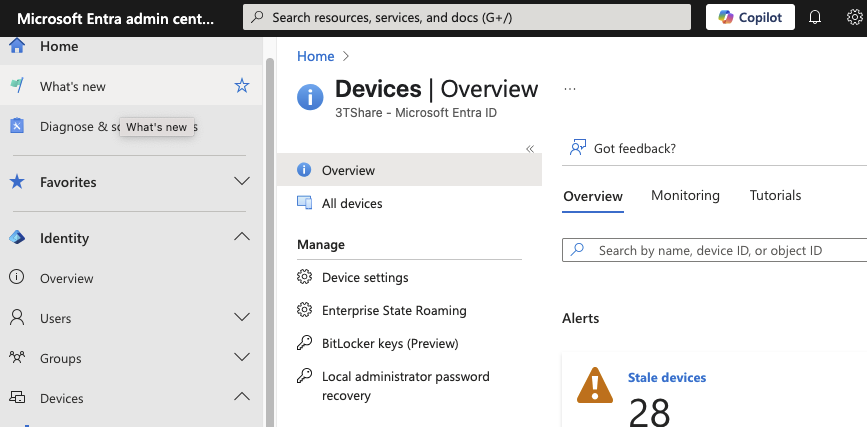
3/ In the
Devices | Overviewscreen, underManagein the left hand pane, selectDevice Settings.
4/ In the
Devices | Device settingsscreen that opens, underUsers may join devices to Microsoft Entra, selectAll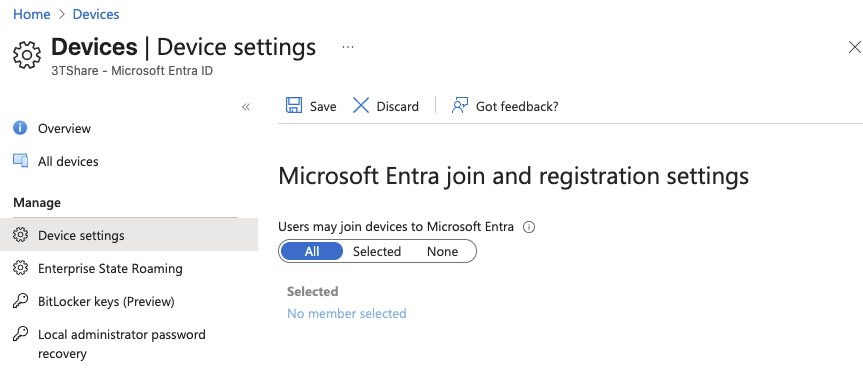
5/ After settings > select
Save
Step 3: Create a device group
Create a dynamic device group for use with Windows Autopilot
1/ Sign into the Microsoft Intune admin center.
2/ In the Intune Admin Portal, select
Groups,then selectAll groups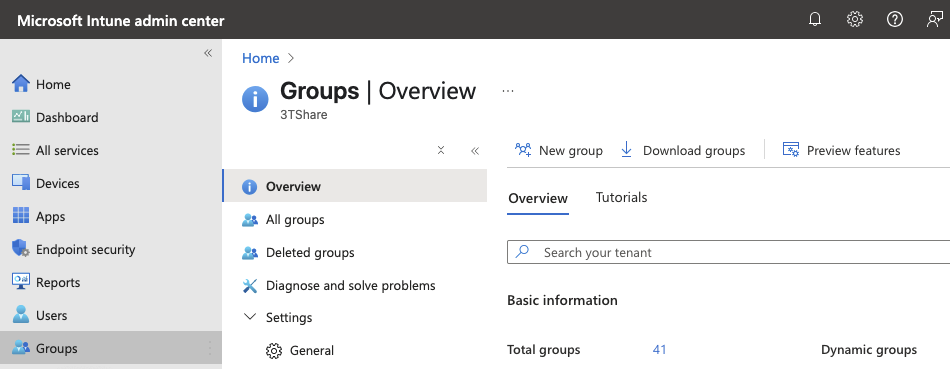
3/ In the
Groups | Overviewscreen, make sureAll groupsis selected, and then selectNew group.
3/ In the
New Groupscreen that opens:
For
Group type, selectSecurity.For
Group name, enter a name for the device group [All Autopilot Device]For
Group description > skipFor
Microsoft Entra roles can be assigned to the group, selectNo.For
Membership type, selectDynamic Device.For
Owners >skipFor
Dynamic device members, selectAdd dynamic query.The
Dynamic membership rulesscreen opens.
4/ In the
Dynamic membership rulesscreen4.1/ at the Rule syntax box, select edit at the top-right hand side
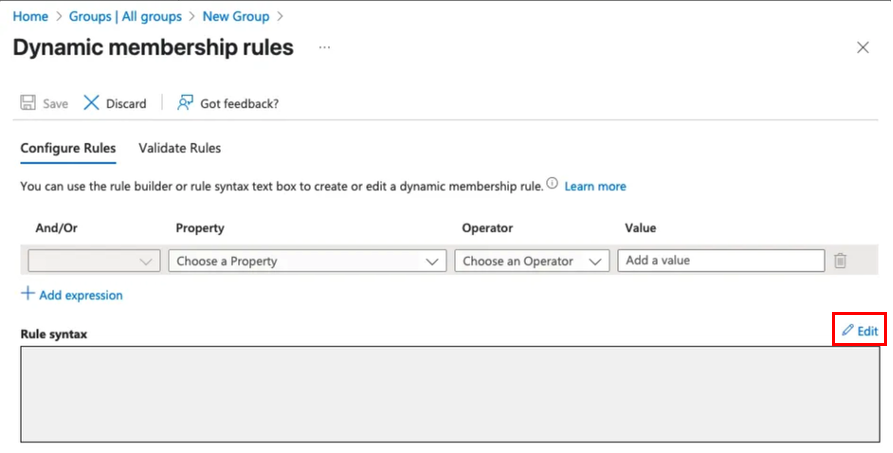
4.2/ Paste in the following rule in the
Edit rule syntaxscreen underRule syntax(device.devicePhysicalIDs -any (_ -startsWith “[ZTDid]”))
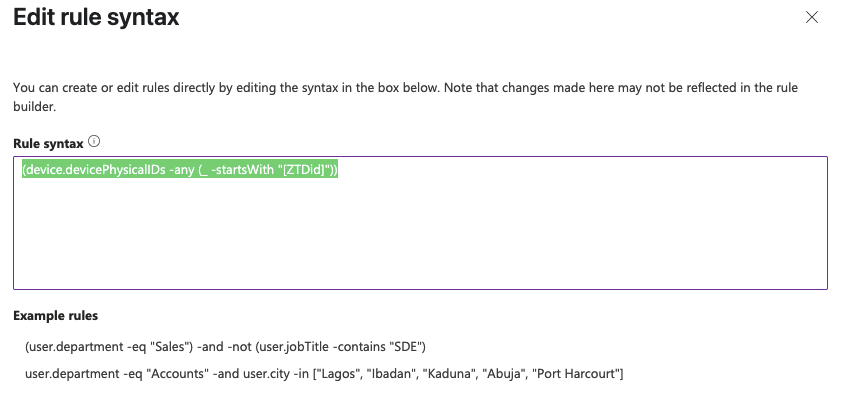
4.3/ Once the rule is pasted in, select
OK. 4.4/ Once the desired rule is entered, selectSaveon the toolbar to close theDynamic membership ruleswindow.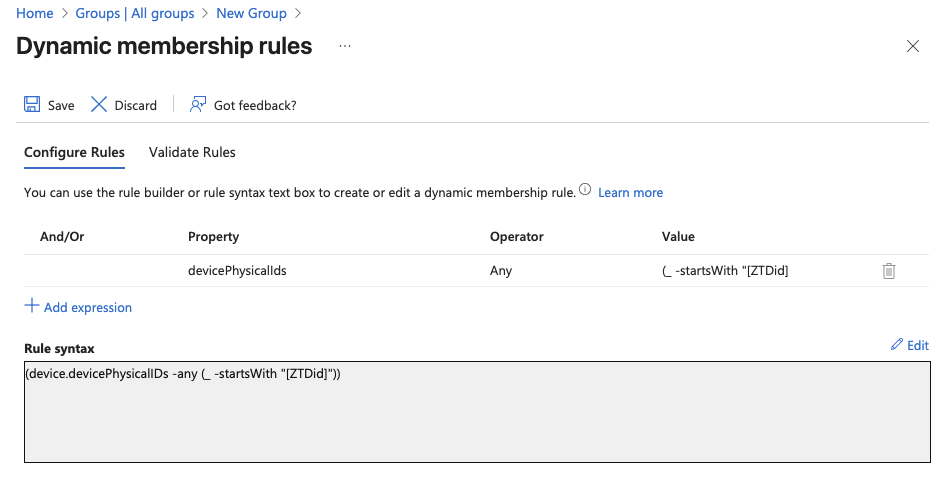
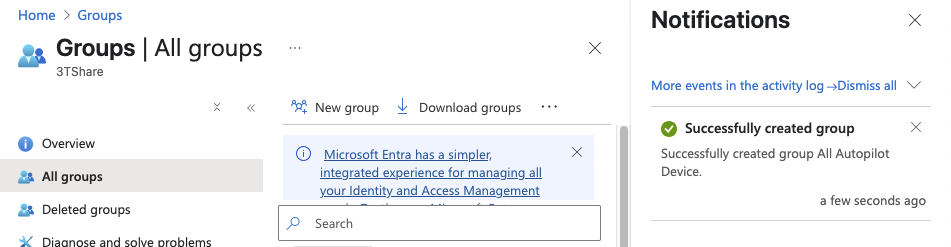
5/ Select
Createto finish creating the dynamic device group.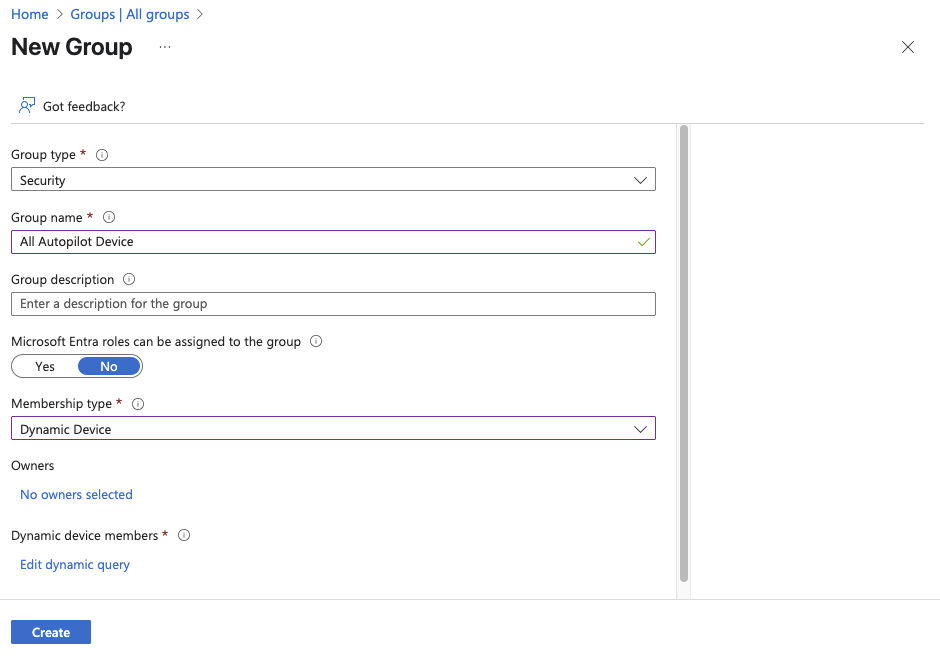
6/ Wait until the notification is successful
Step 4: Configure and assign Windows Autopilot Enrollment Status Page (ESP)
What is ESPESP is often configured to wait for only specific apps (instead of all), so users can get to the desktop faster.
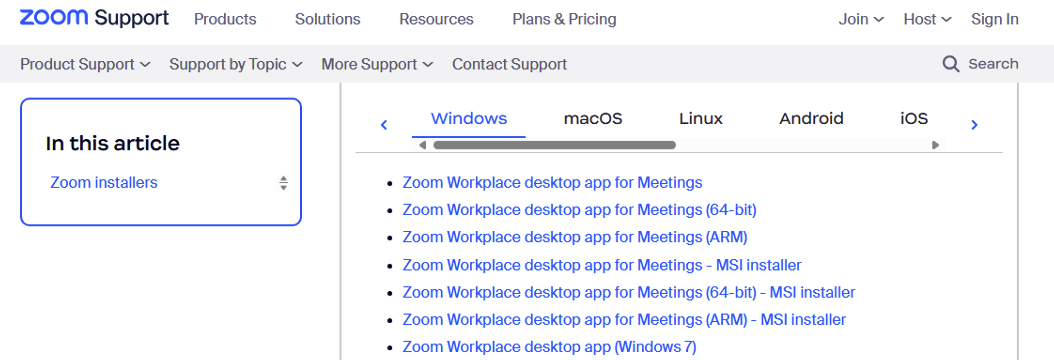
A. Upload A Package App1/ Visit the link here: Zoom Installers
2/ Download Zoom workspace desktop app for Meeting (64bit)- MSI Installer Or using the link here: https://zoom.us/client/latest/ZoomInstallerFull.msi?archType=x64
3/ Sign in to the Microsoft Intune admin center. 4/ Select
Apps>Apps | Overview>Windows.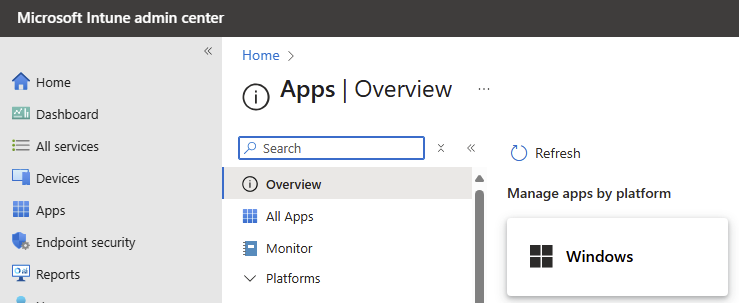
5/ In
Windows | Windows Apps,selectCreate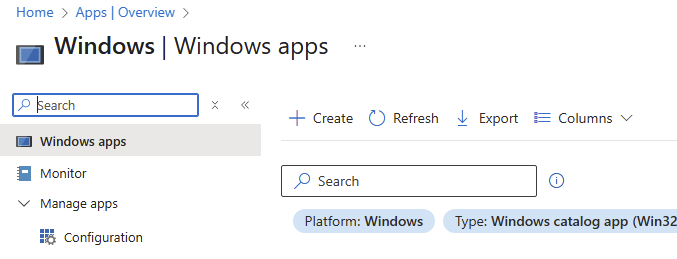
6/ In the
Select app typepane, under theOtherapp types, selectLine-of-business app.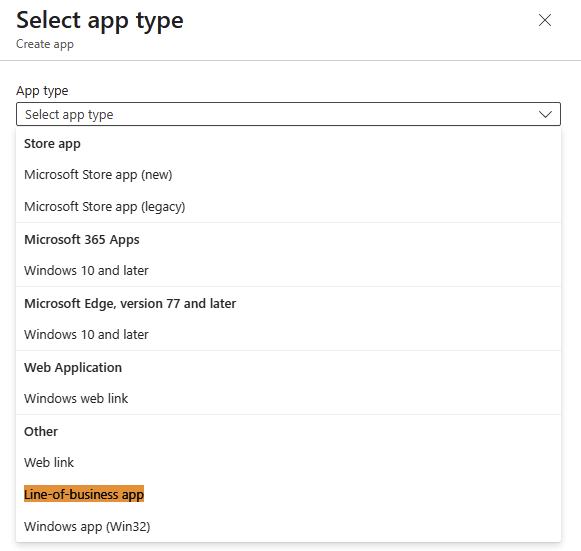
7/ Select
Select. TheAdd appsteps are displayed.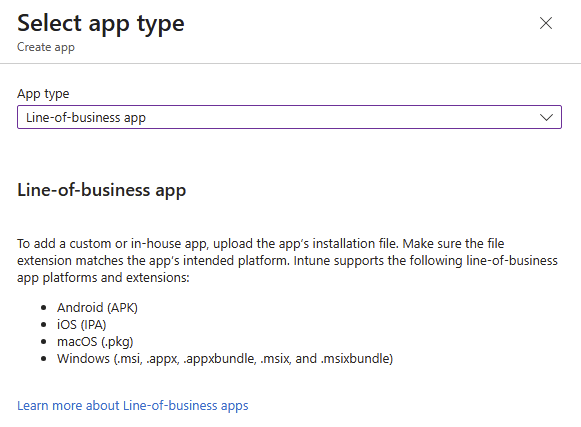
8/ In the
Add apppane, selectSelect app package file.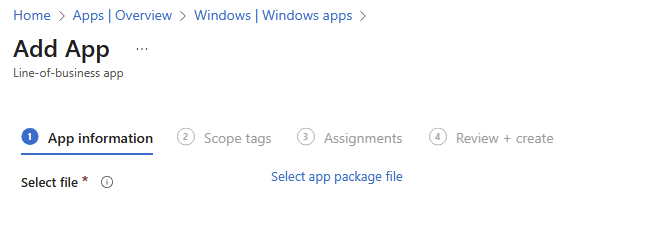
9/
UploadtheZoomMSIfile downloaded recently, selectOK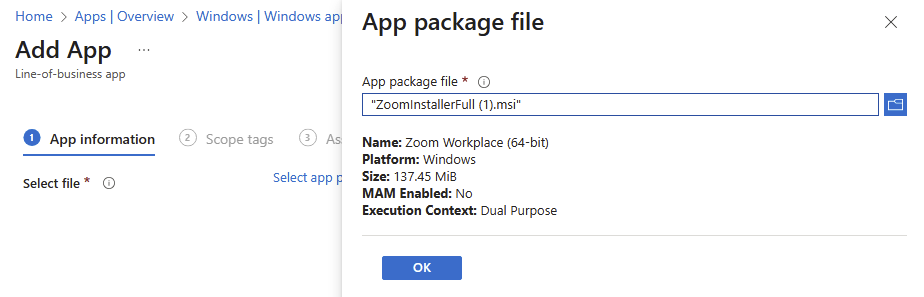
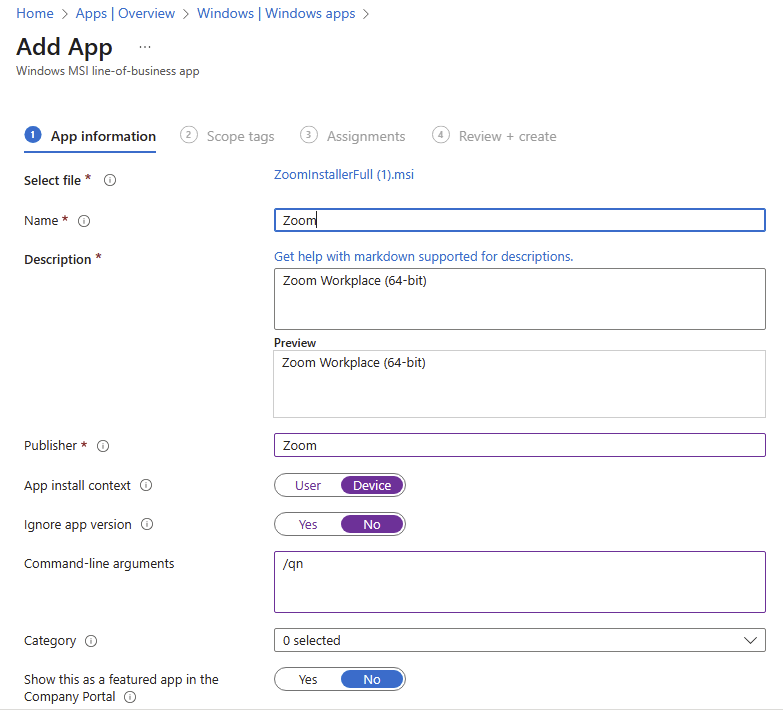
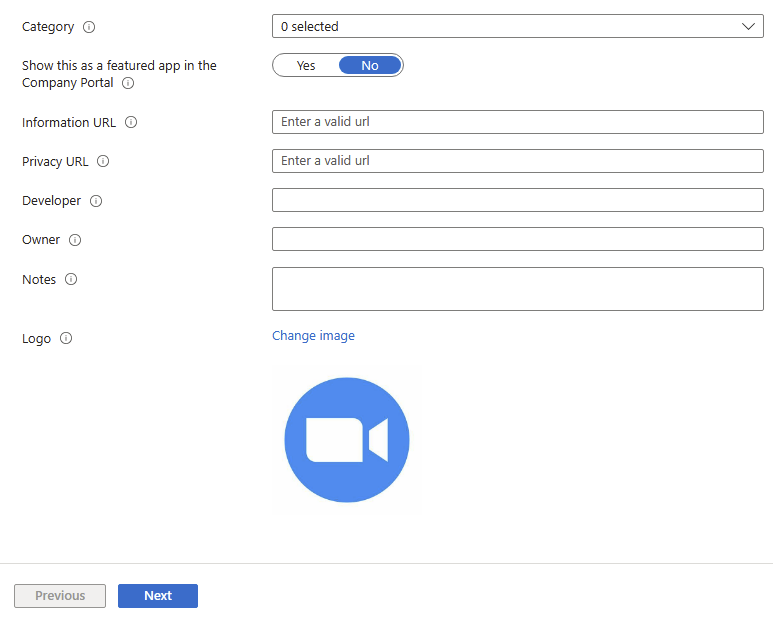
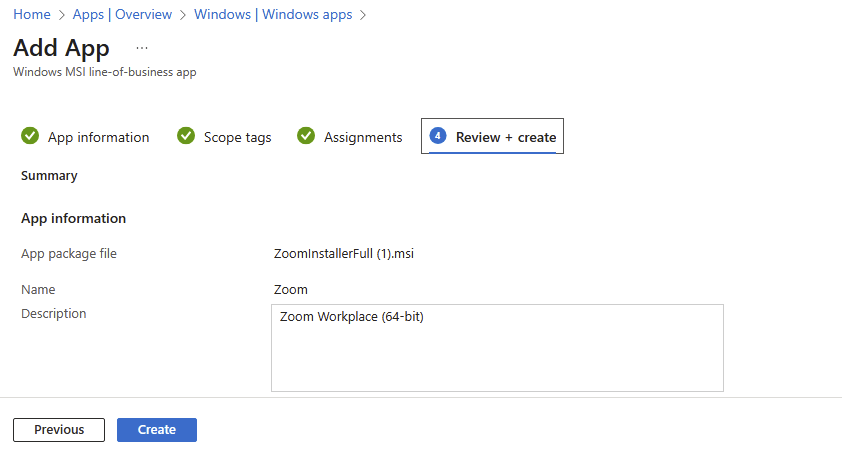
10/ In App information, select
NextName:
ZoomDescription:
skipPublisher:
ZoomApp install context:
DeviceIgnore app version:
NoCommand-line arguments: /qn
Upload Logo
The other fields:
skip
11/ At the
scope tagsscreen, selectNext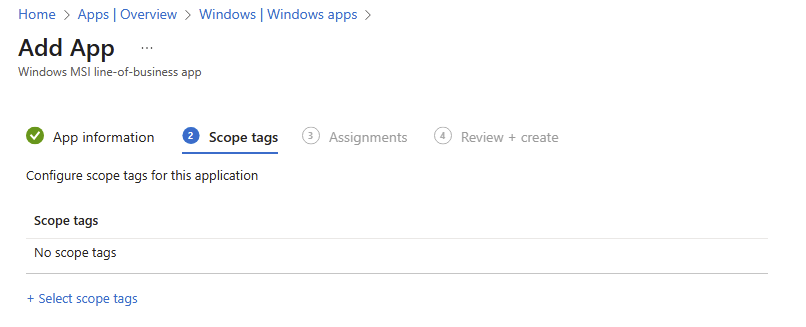
12/ At the Assignments screen, Assign to the desired group, select
Next12.1/ At the
Required header,selectadd group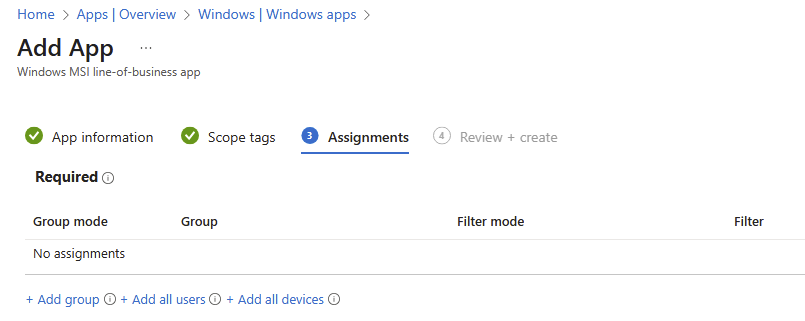
12.2/ Enter [
All Autopilot Device], Checkbox, clickSelect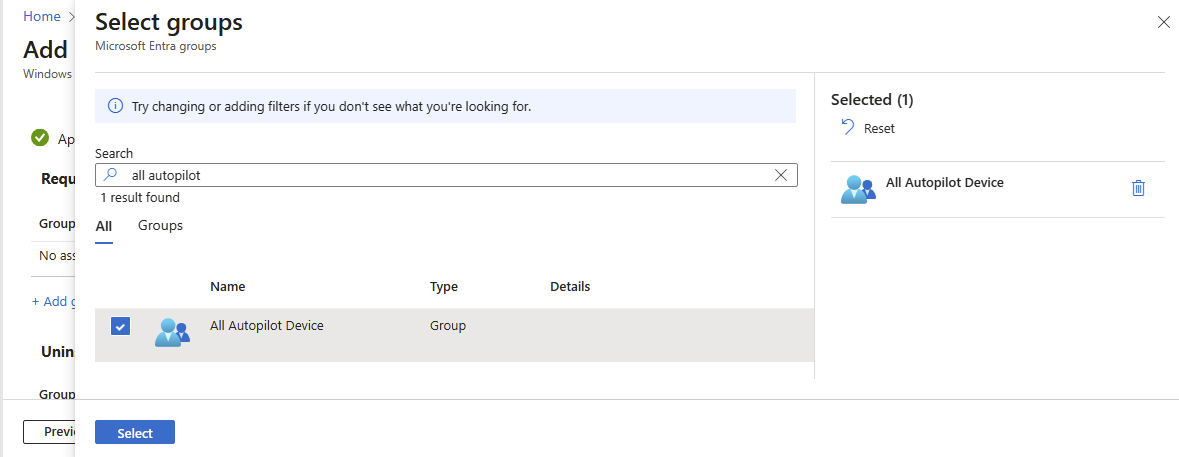
12.3/ Ensure the target group is there, select
Next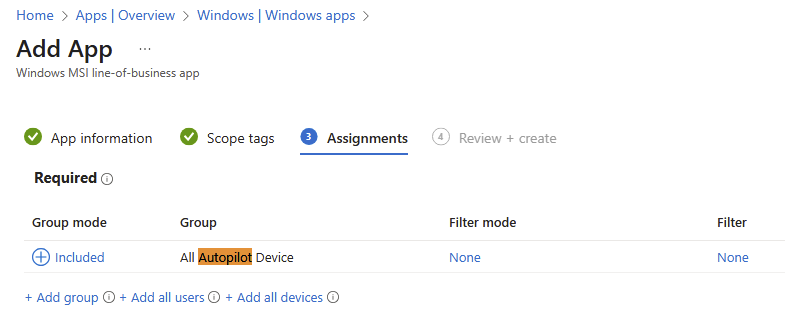
13/ At the review + Create tab, select create
14/ Wait until the uploading zoom is completed
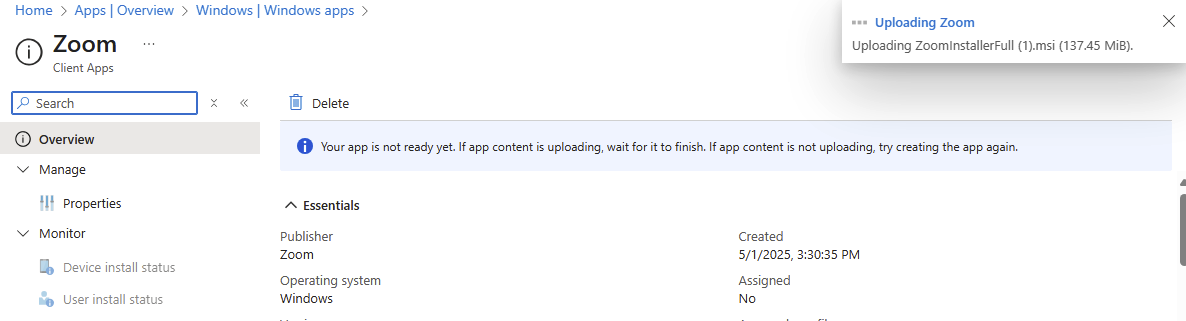
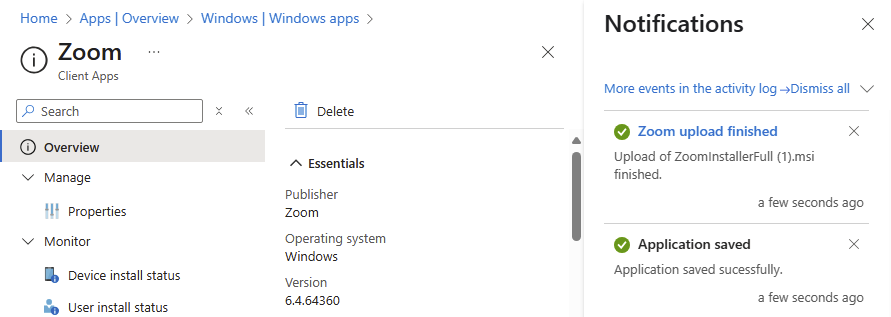
15/ Wait until the uploading process is successful
B. Create ESP Profile1/ Sign into the Microsoft Intune admin center. 2/ In the
Homescreen, selectDevicesin the left hand pane.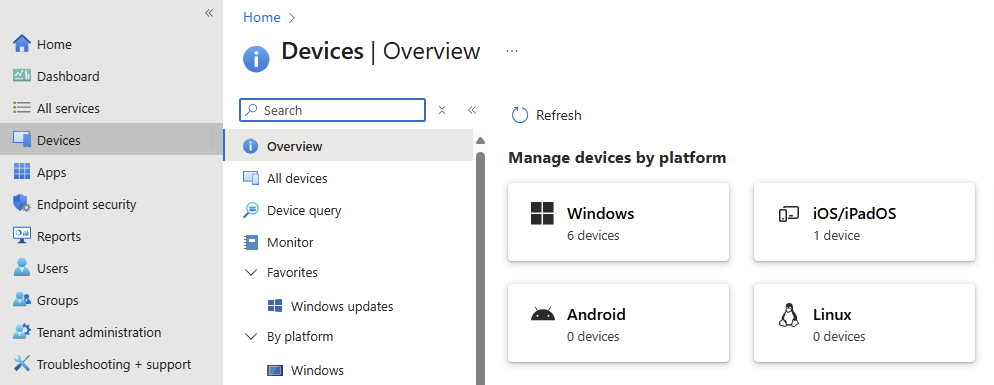
3/ In the
Devices | Overviewscreen, underManage devices by platform, selectWindows.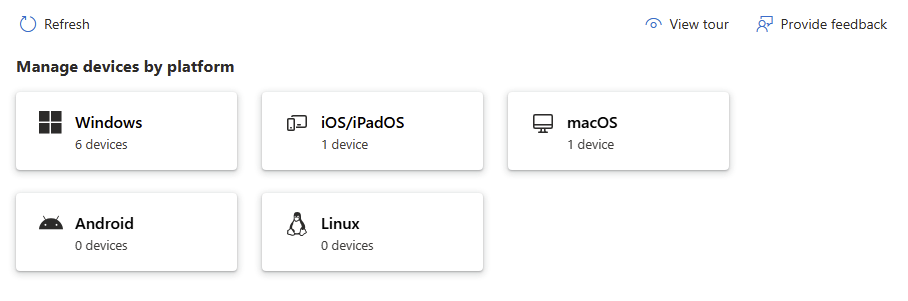
4/ In the
Windows | Windows devicesscreen, underDevice onboarding, selectEnrollmentat the left pane side.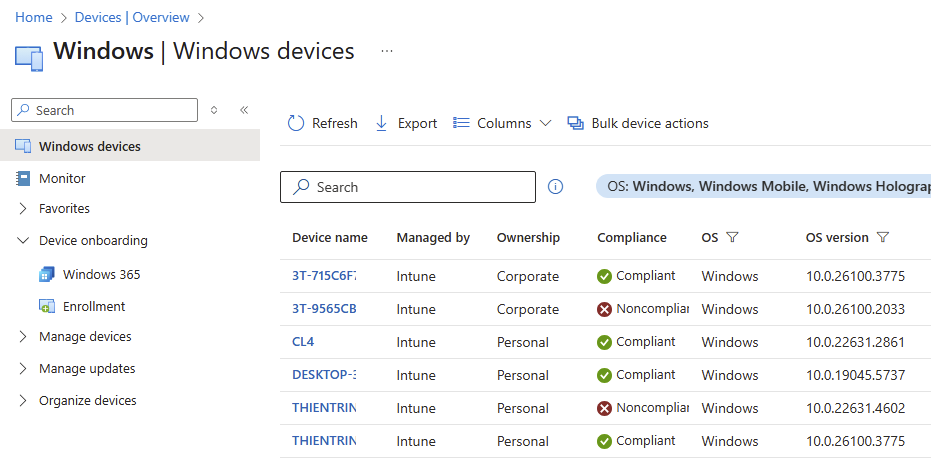
5/ In the
Windows | Windows enrollmentscreen, underWindows Autopilot, selectEnrollment Status Page.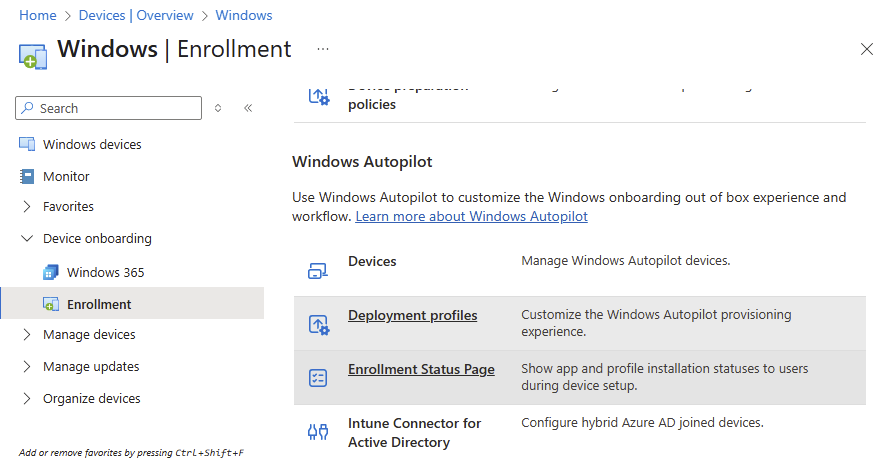
6/ In the
Enrollment Status Pagescreen that opens, selectCreate.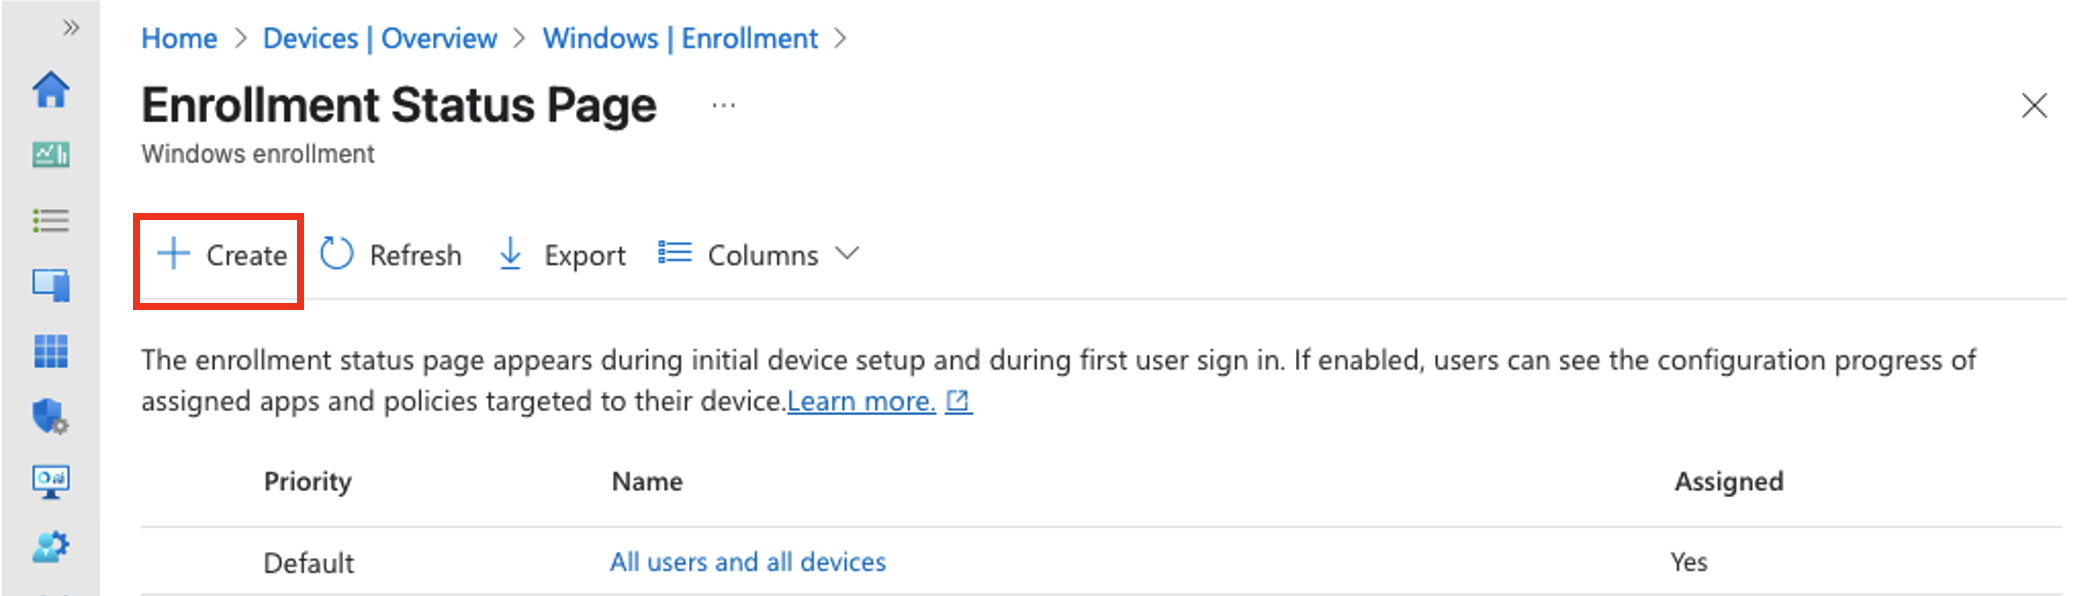
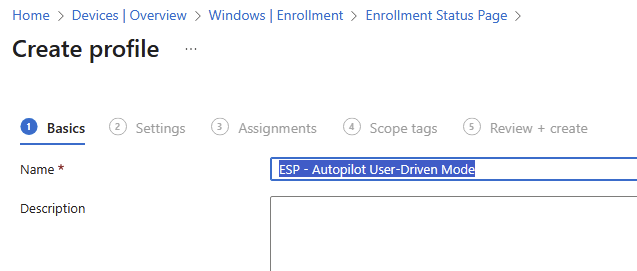
7/ The
Create profilescreen opens. In theBasicspage:Next to
Name, enter [ESP - Autopilot User-Driven Mode]Next to
Description,skipSelect
Next.
8/ In the
Settingspage, toggle the optionShow app and profile configuration progresstoYes.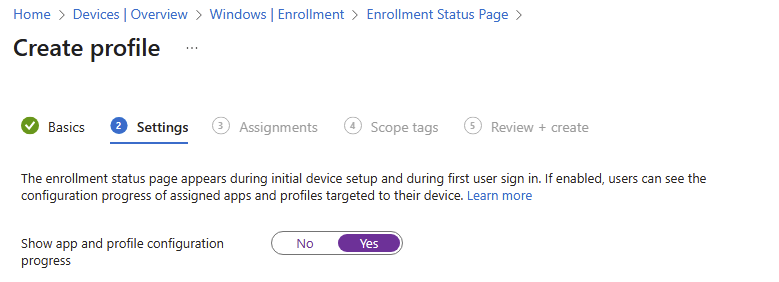
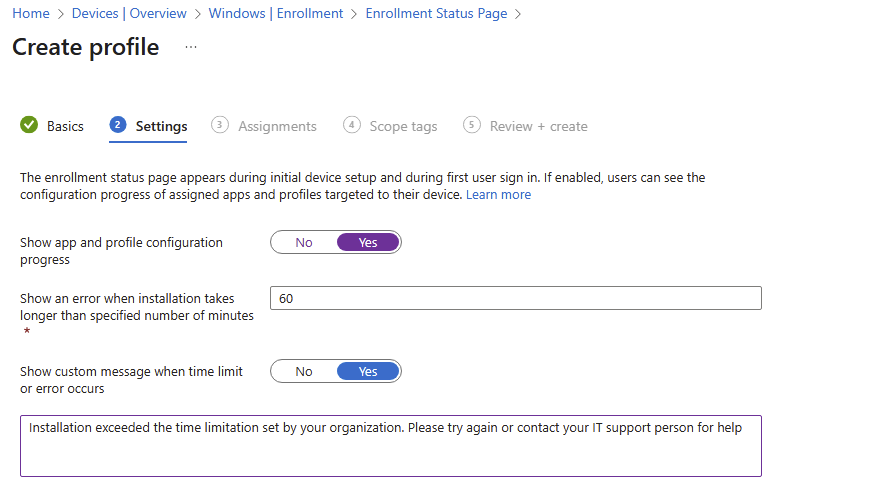
8.1/ After toggling the setting to Yes > configure these settings following
Show an error when installation takes longer than specified number of minutes:
60Show custom message when time limit or error occurs:
Yesin the box message: [Installation exceeded the time limitation set by your organization. Please try again or contact your IT support person for help]
8.2/ After entering the message > turn on these settings below
Turn on log collection and diagnostics page for end users:
YesOnly show page to devices provisioned by out-of-box experience (OOBE):
YesBlock device use until all apps and profiles are installed:
YesAllow users to reset device if installation error occurs:
YesBlock device use until required apps are installed if they are assigned to the user/device: Selected

8.2/ After choosing [
selected] mode > click on+select apps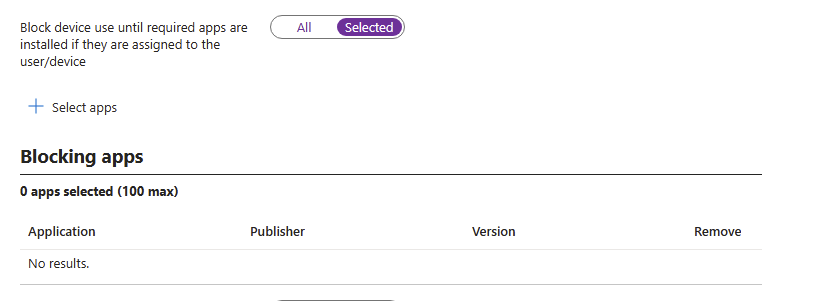
8.3/ At the
Select apps> searchZoom> Click on Zoom andselect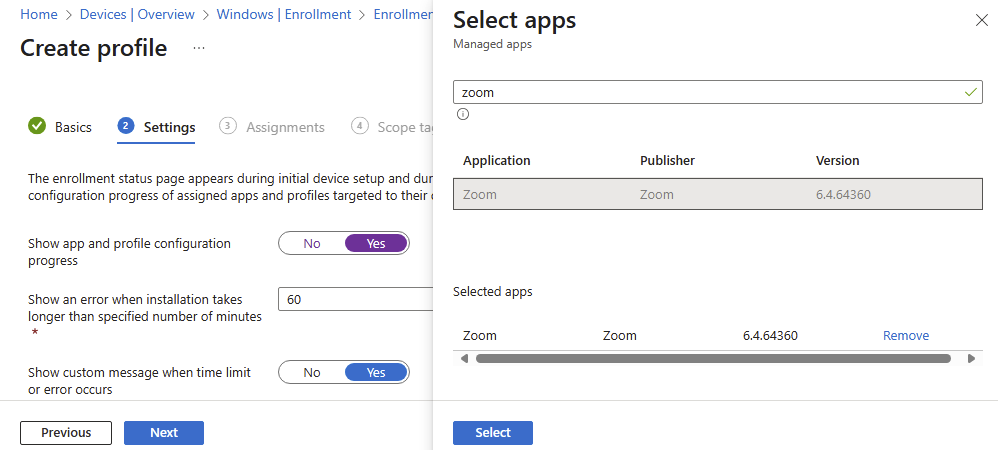
8.4/ Ensure
Zoomis listed in theBlocking appslist > selectNext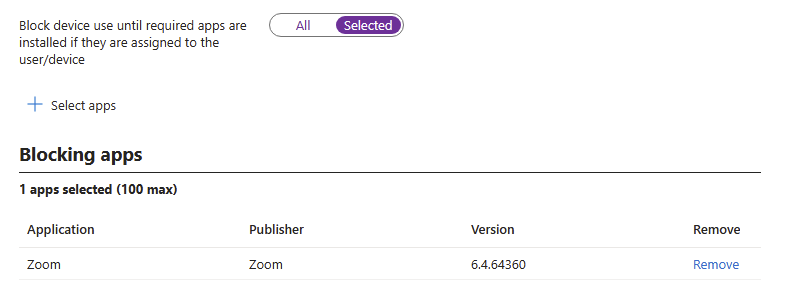
8.5/ After adding Zoom, at [Only fail selected blocking apps in technician phase] > Select
No >then selectNext
9/ at
Assignmenttab > clickadd groups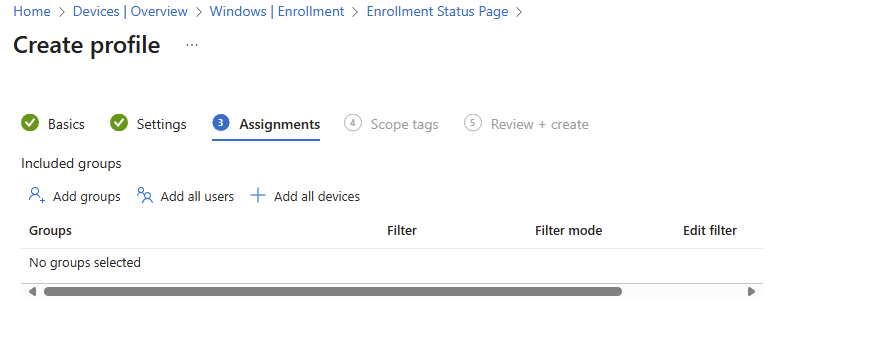
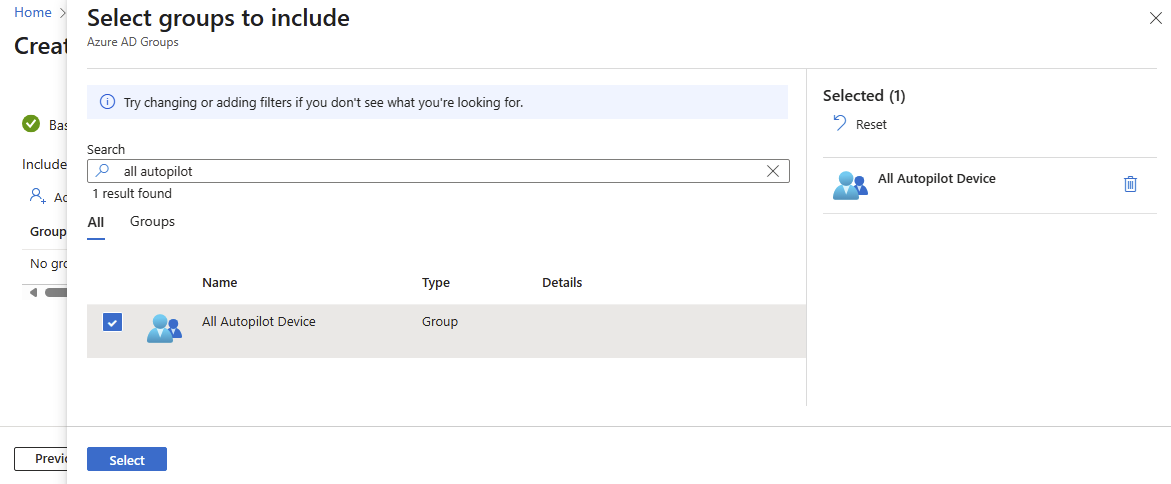
9.1/ At the select groups to include
Search [
All autopilot device]Checkboxand clickSelect
10/ Ensure the target group is listed in the list, select
Next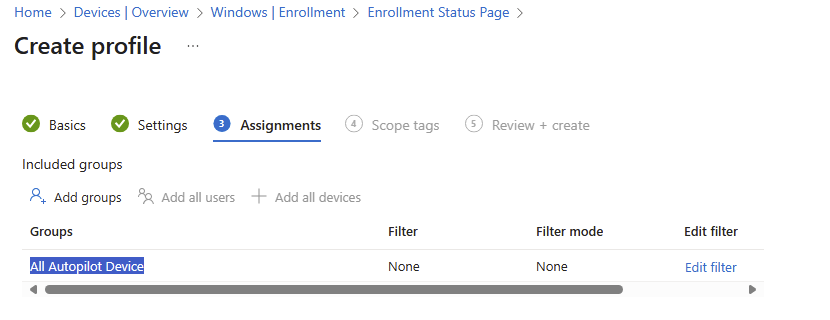
11/ At the scope tags, select
Next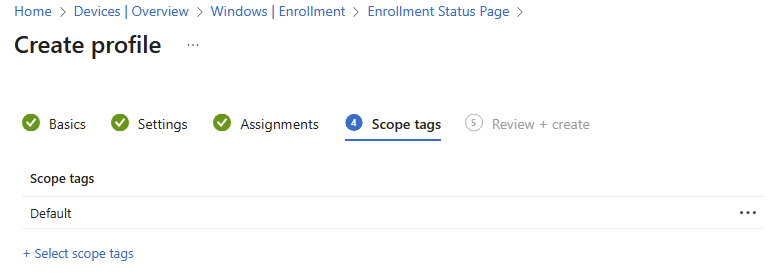
12/ At the
Review and createtab, selectCreate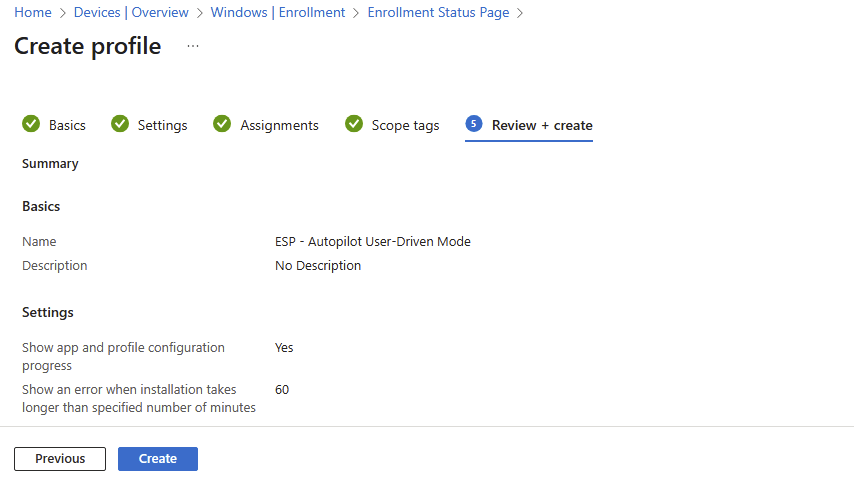
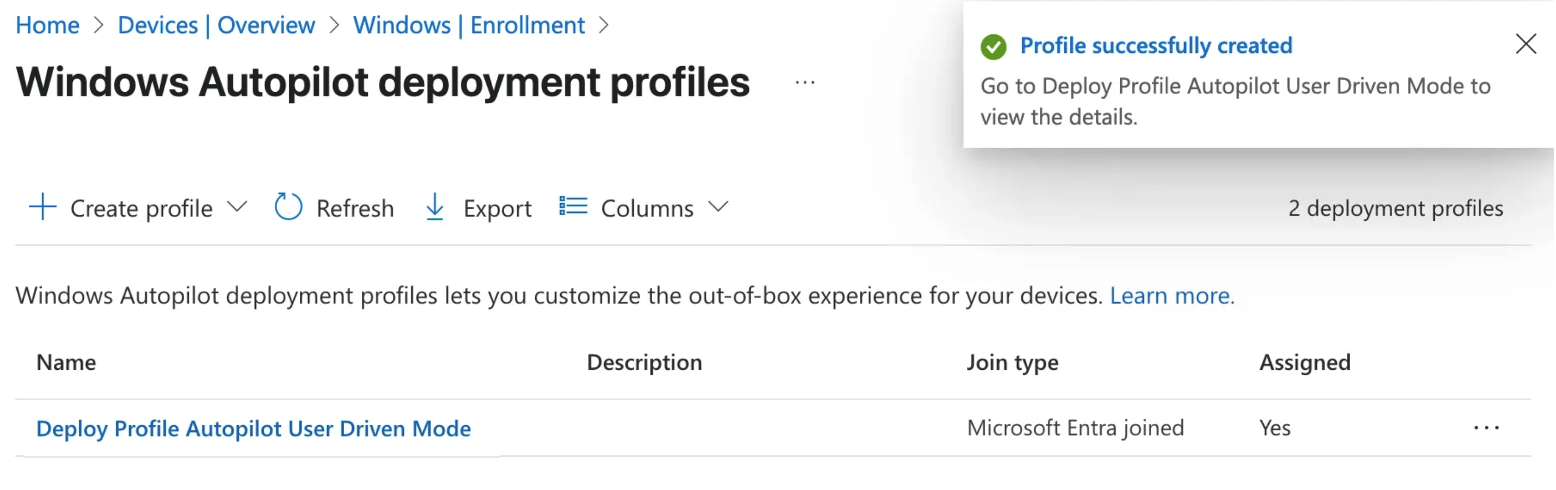
13/ Waiting until the notifications shows
[profile successfully created /assigned]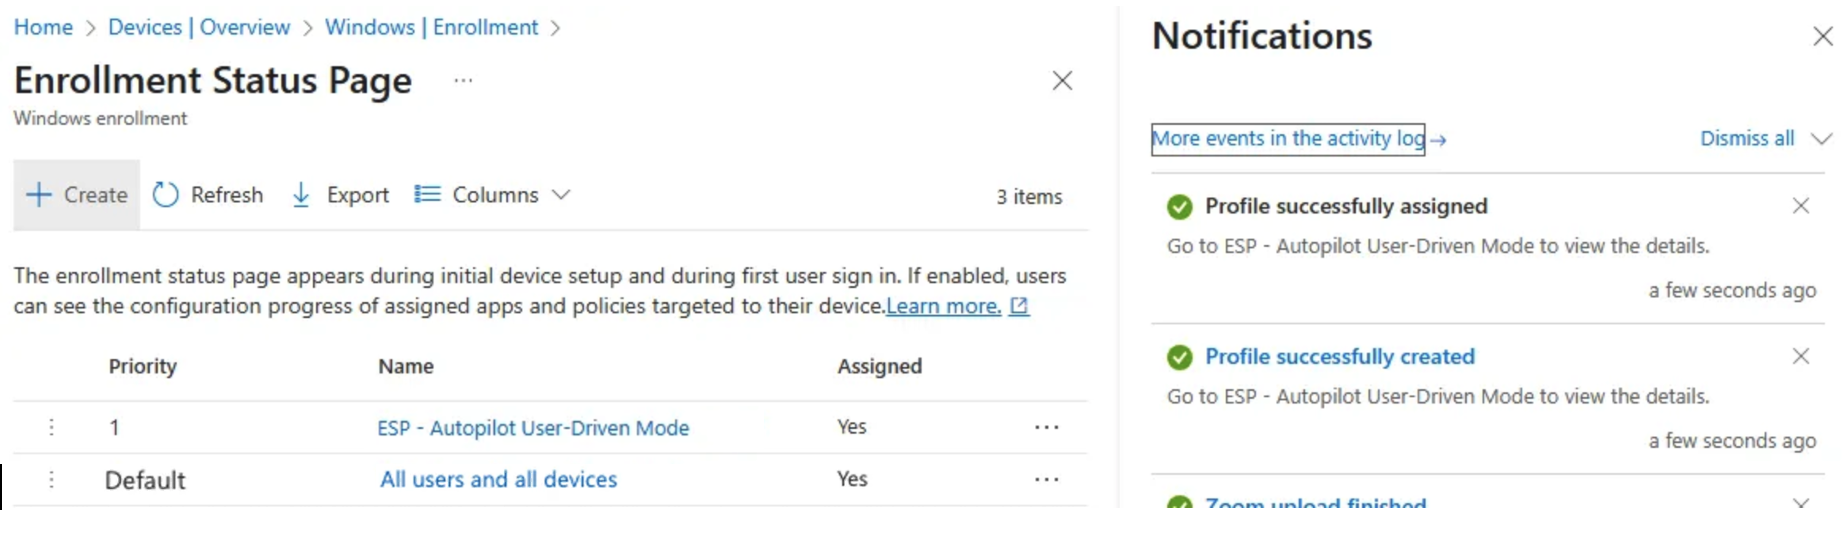
Step 5: Create and assign Windows Autopilot profile
1/ Sign into the Microsoft Intune admin center. 2/ In the
Homescreen, selectDevicesin the left hand pane.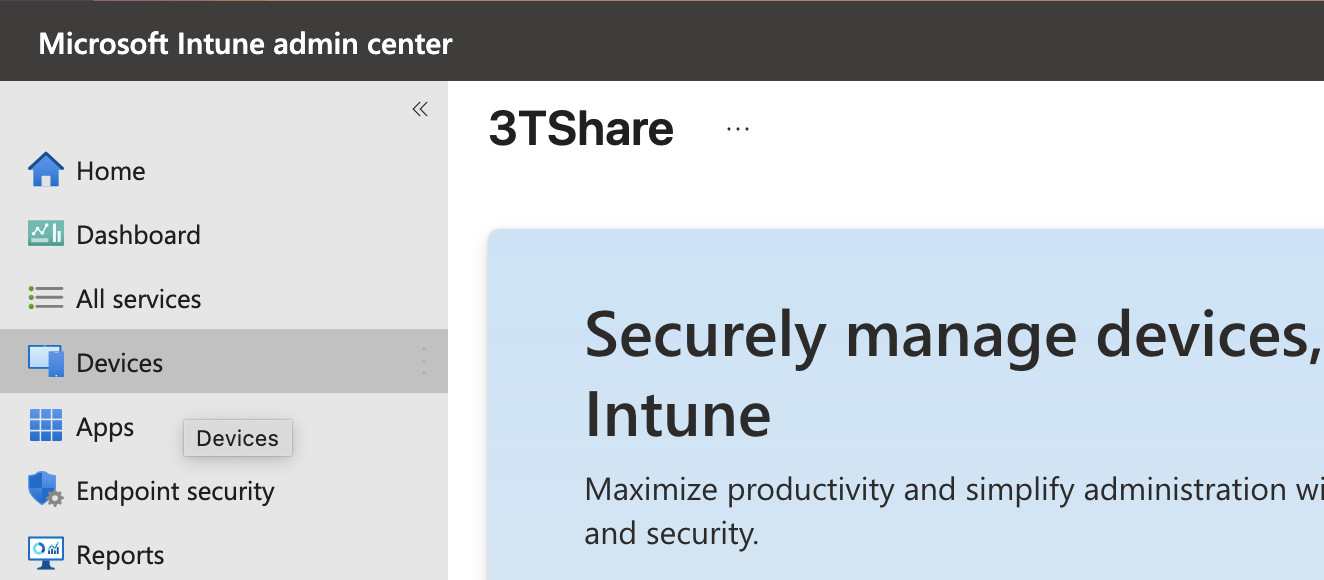
3/ In the
Devices | Overviewscreen, underBy platform, selectWindows.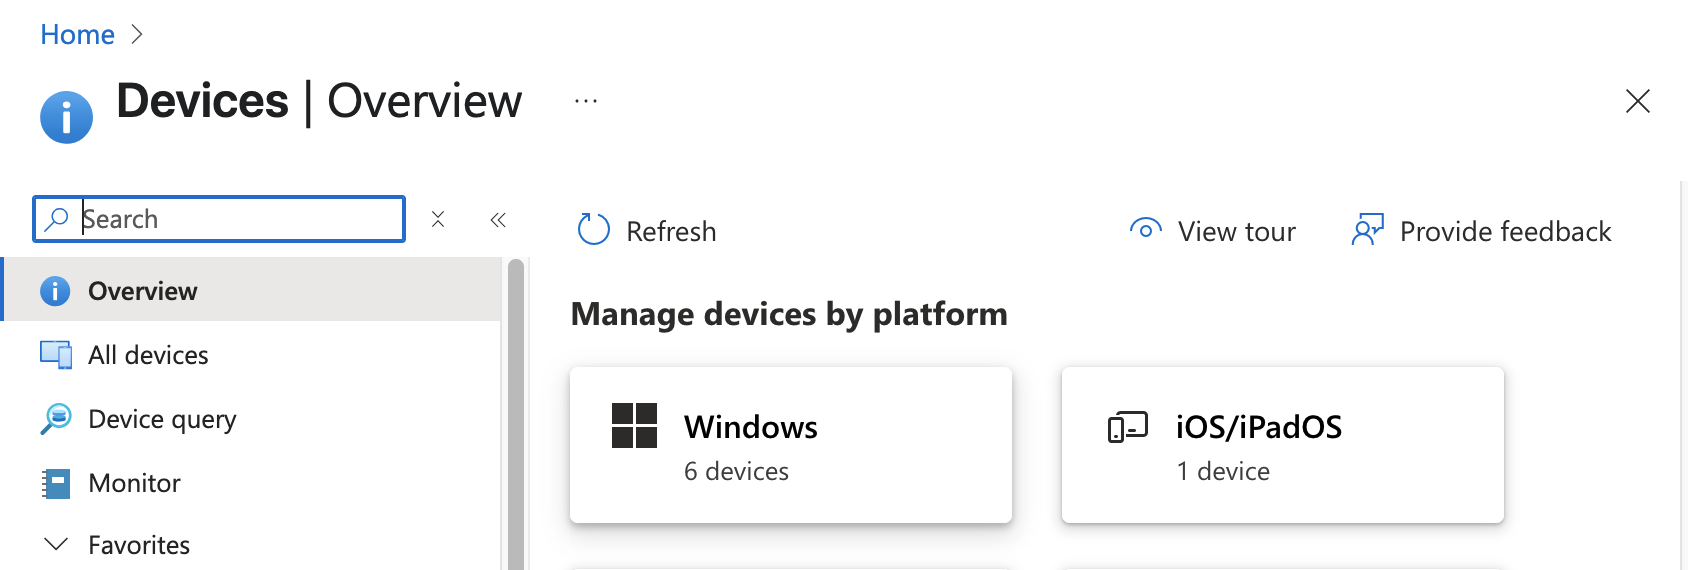
4/ In the
Windows | Windows devicesscreen, underDevice onboarding, selectEnrollment.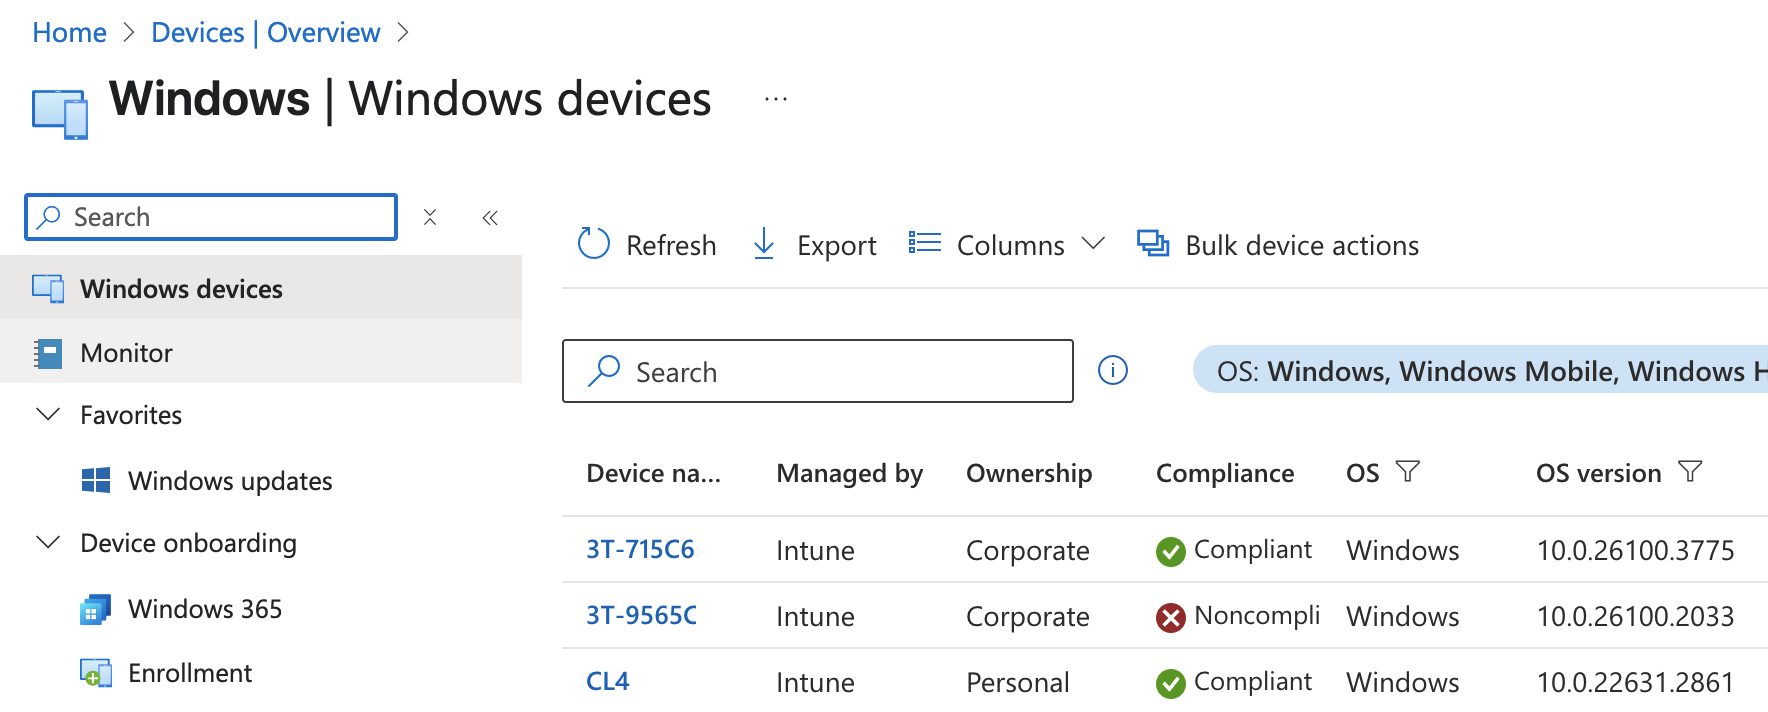
5/ In the
Windows | Windows enrollmentscreen, underWindows Autopilot, selectDeployment Profiles.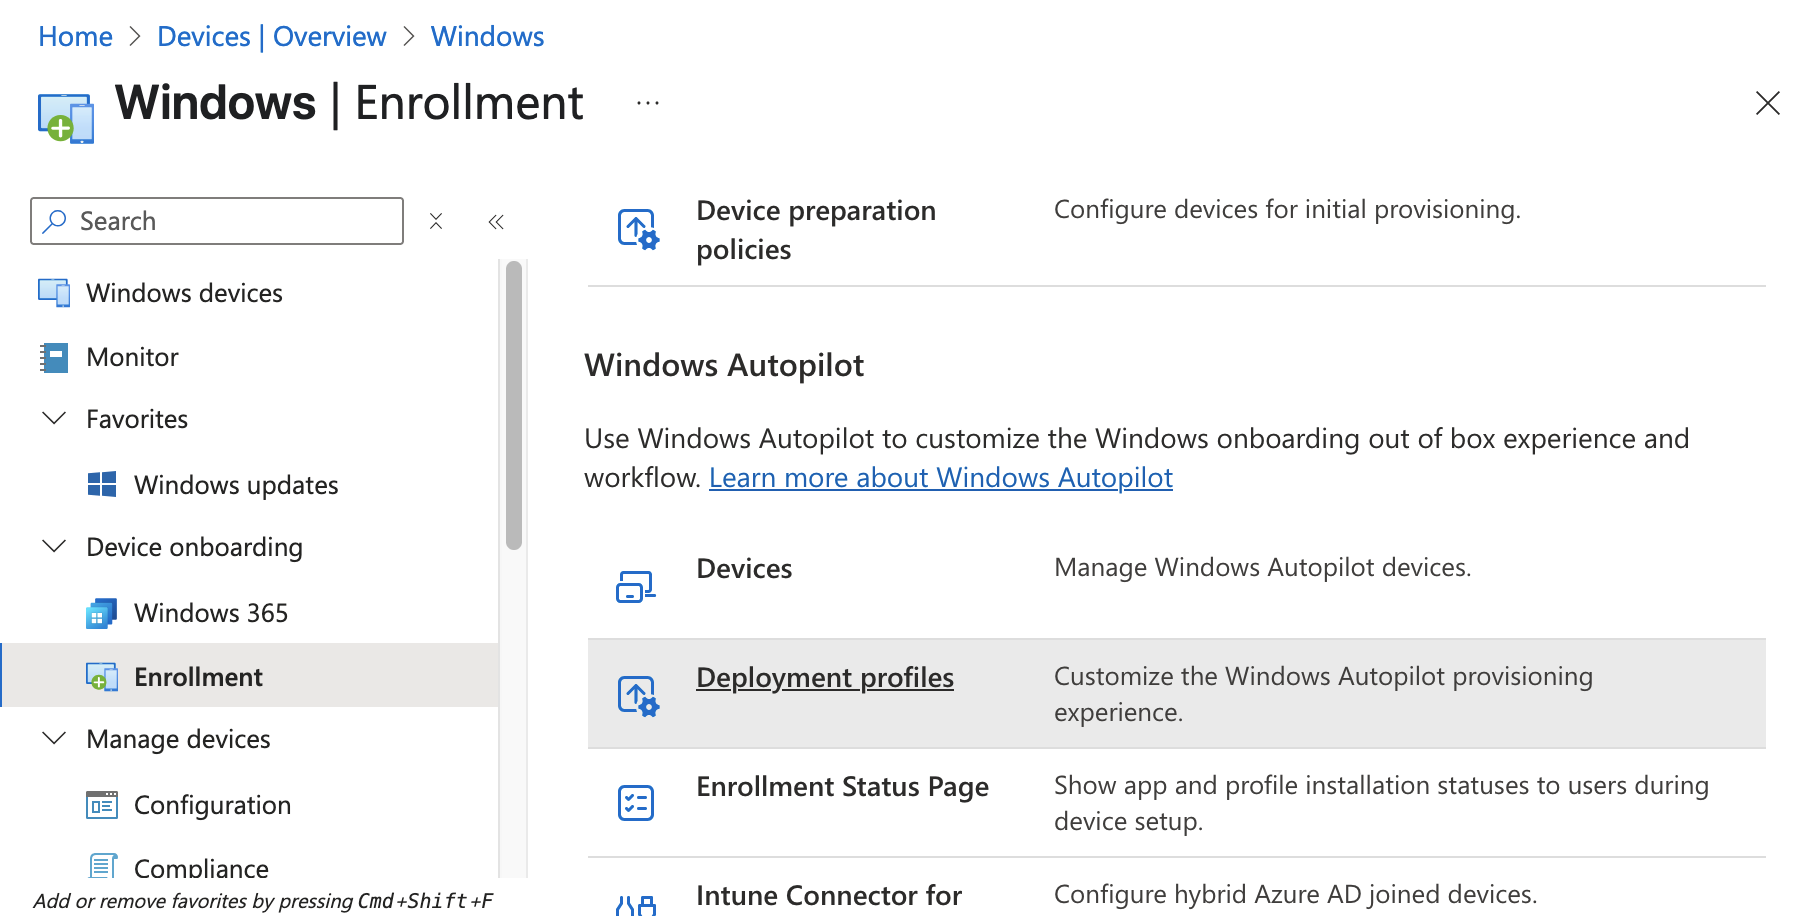
6/ In the
Windows Autopilot deployment profilesscreen, select theCreate Profiledrop down menu and then selectWindows PC.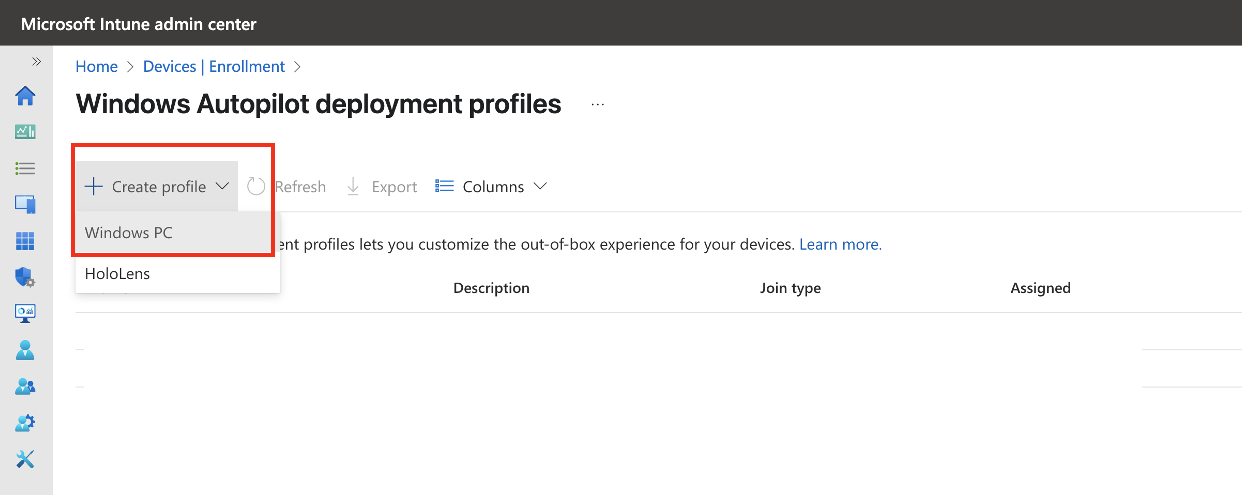
7/ The
Create profilescreen opens. In theBasicspage:
Next to
Name: [DeployProfile - Autopilot User-Driven Mode]Next to
Description
Next.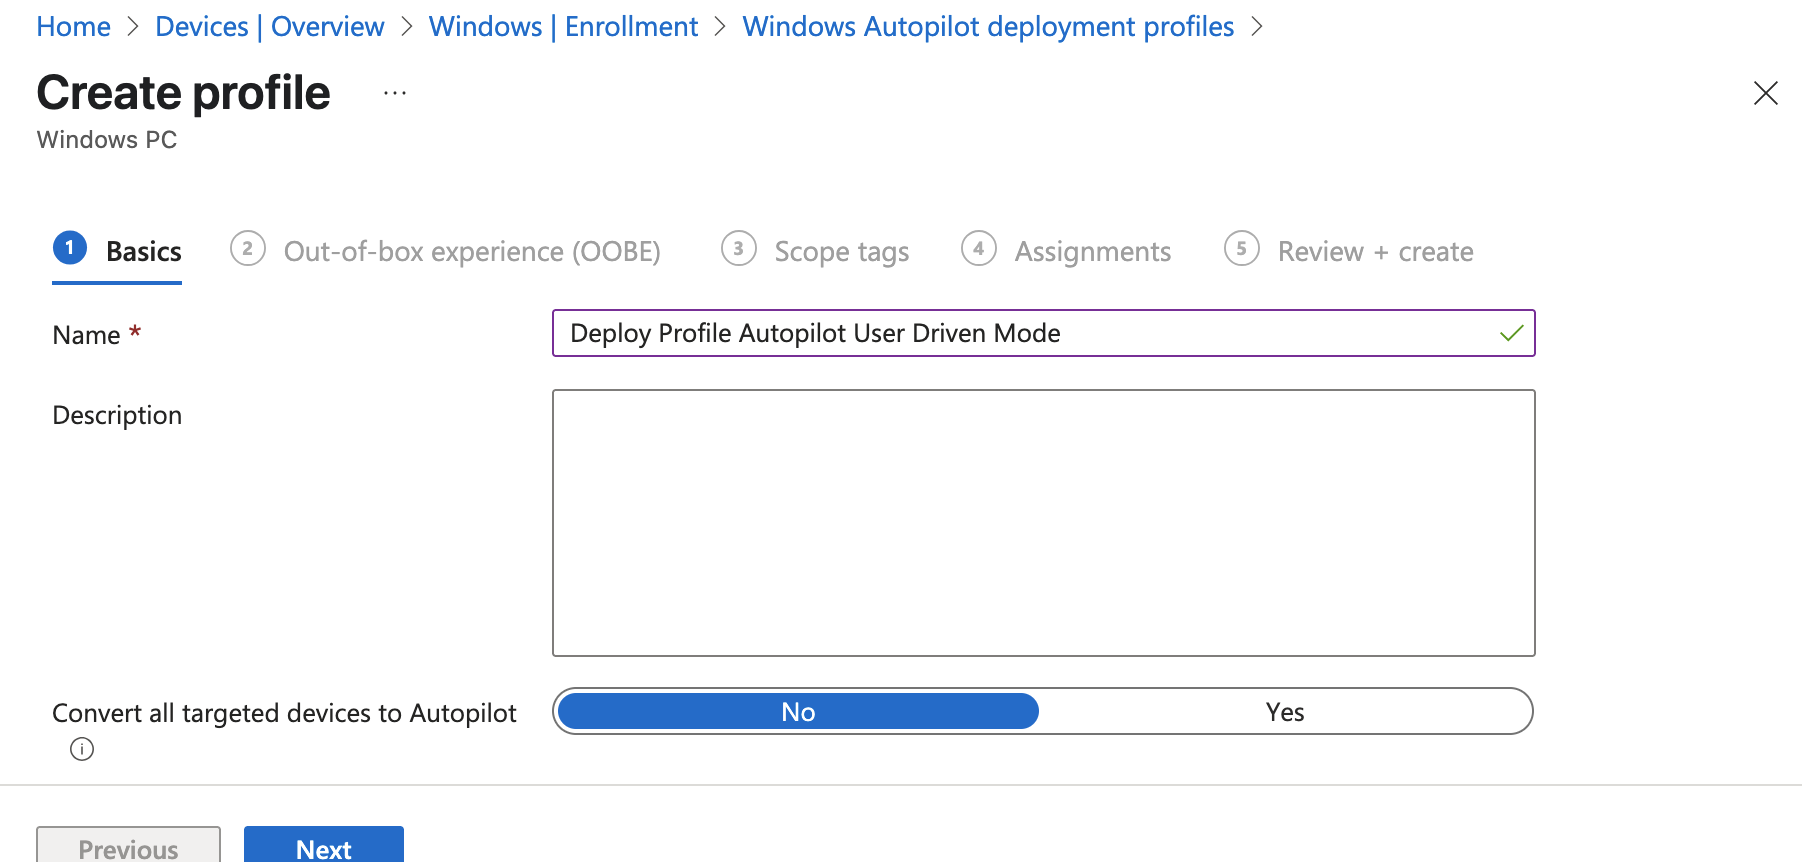
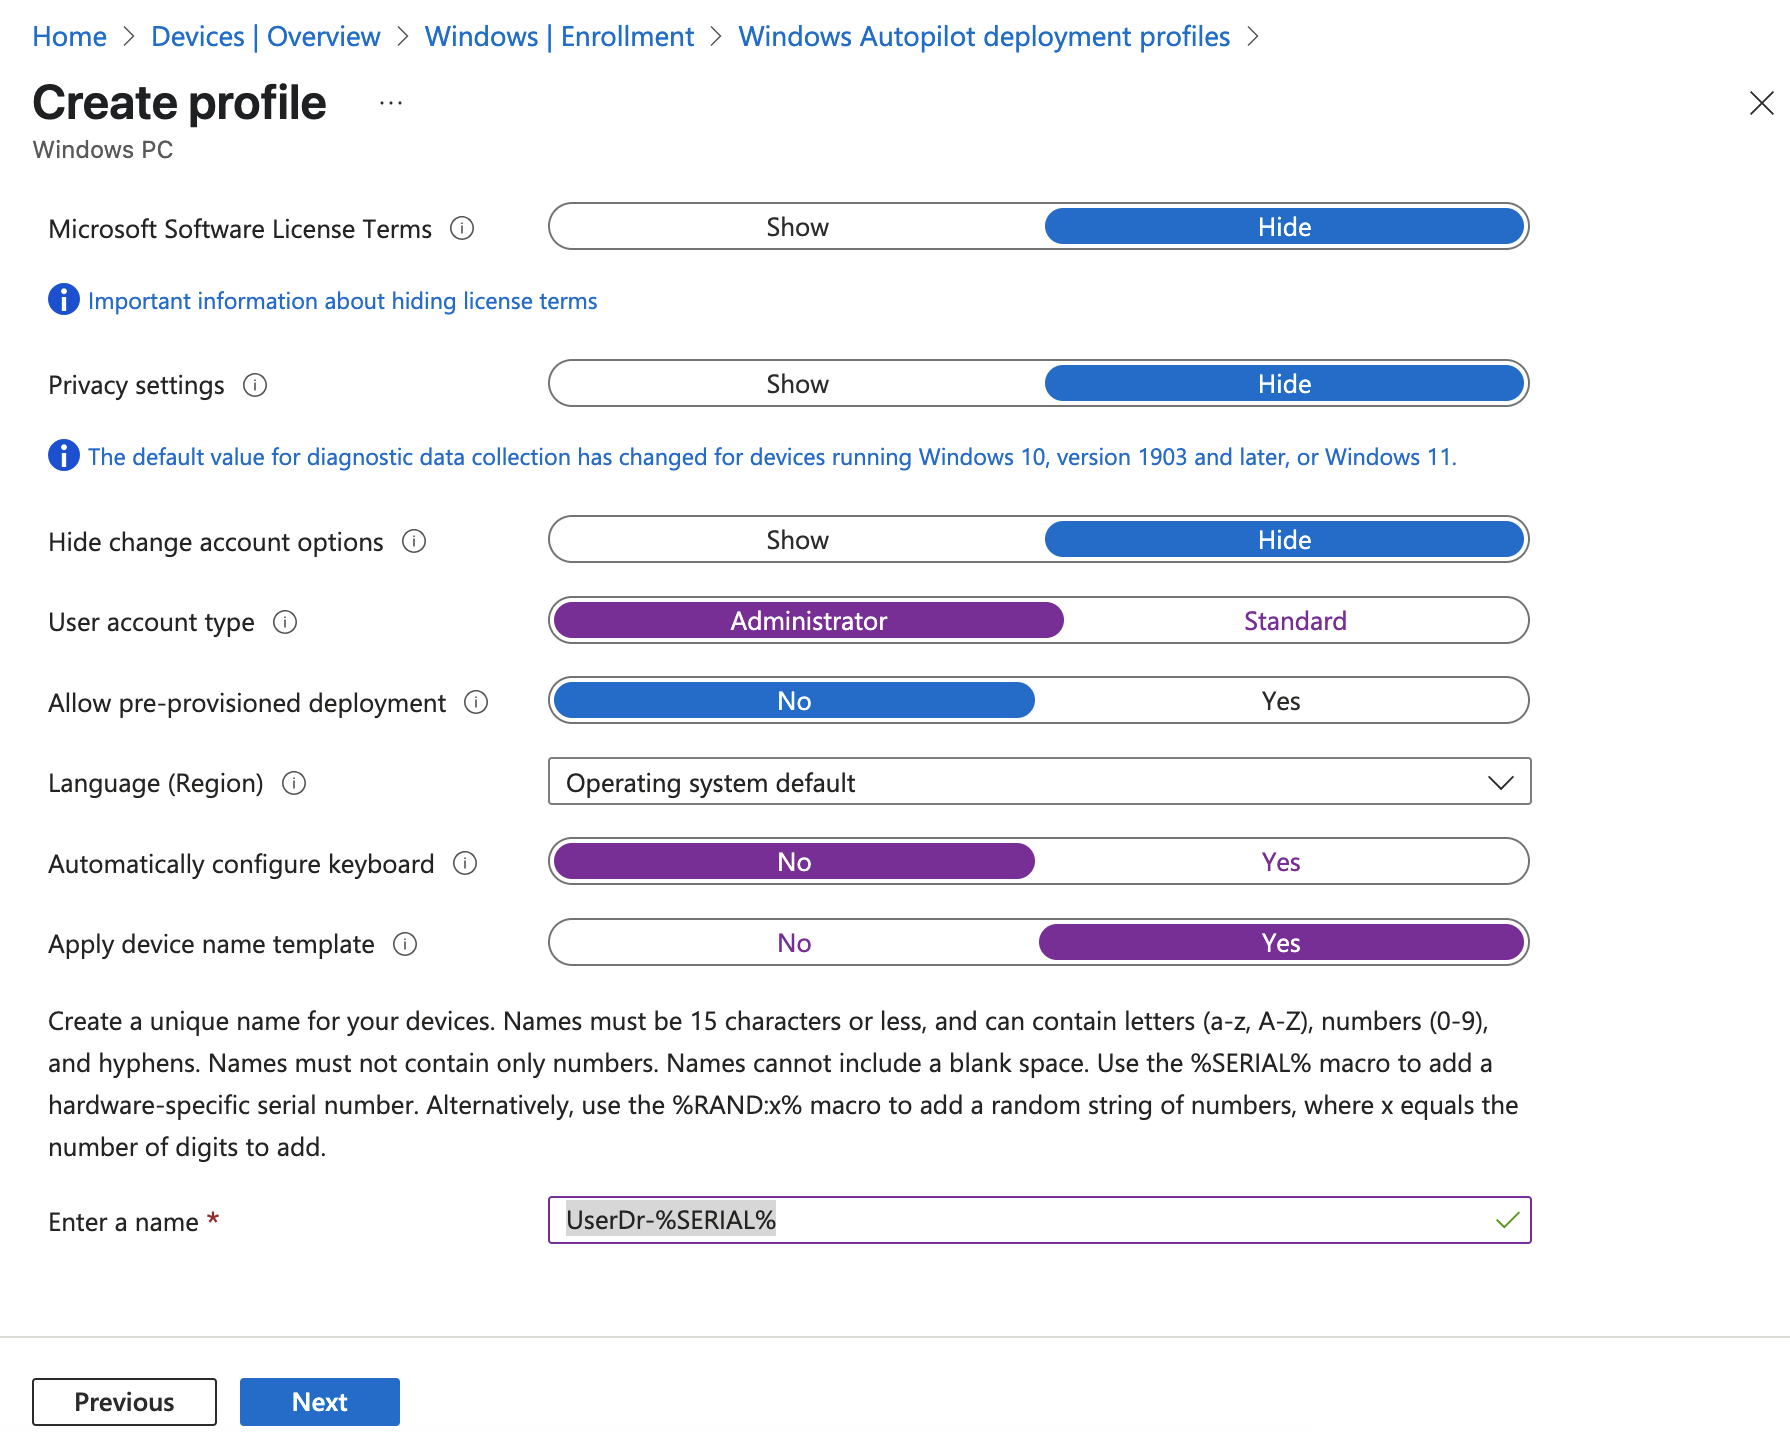
8.1/ In the
Out-of-box experience (OOBE)page:
For
Deployment mode, selectUser-driven.For
Join to Microsoft Entra ID as, selectMicrosoft Entra joined.For
Microsoft Software License Terms, selectHideFor
Privacy settings, selectHide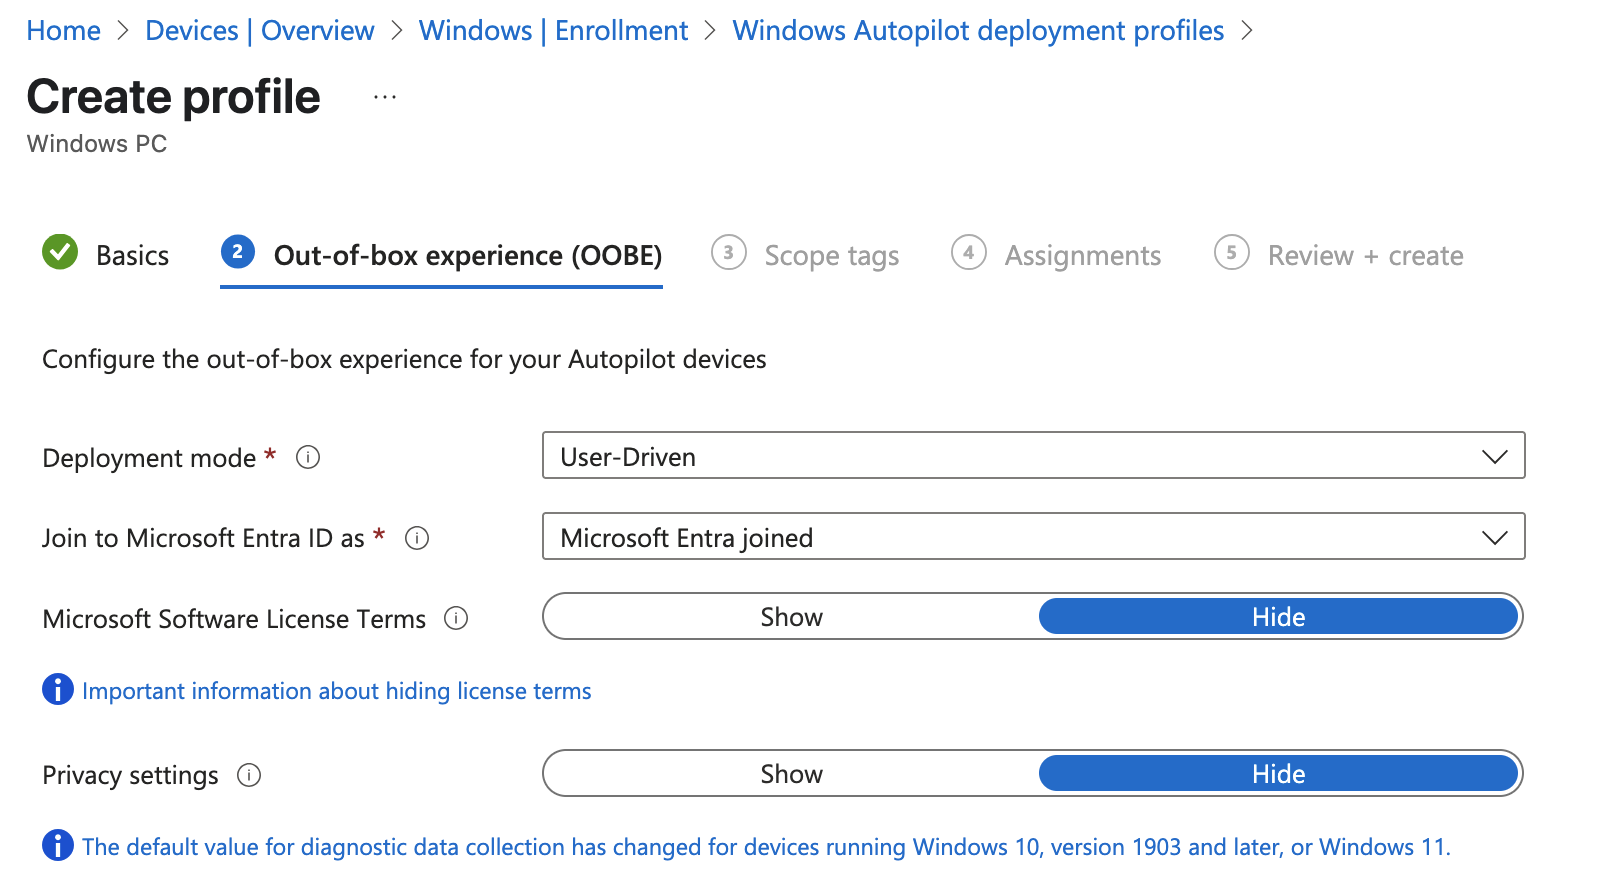
8.2/ In the
Out-of-box experience (OOBE)page:
For
Hide change account options, selectHide.For
User account type, selectAdministrator.For
Allow pre-provisioned deployment, selectNo.For
Language (Region): SkipFor
Automatically configure keyboard: NoFor
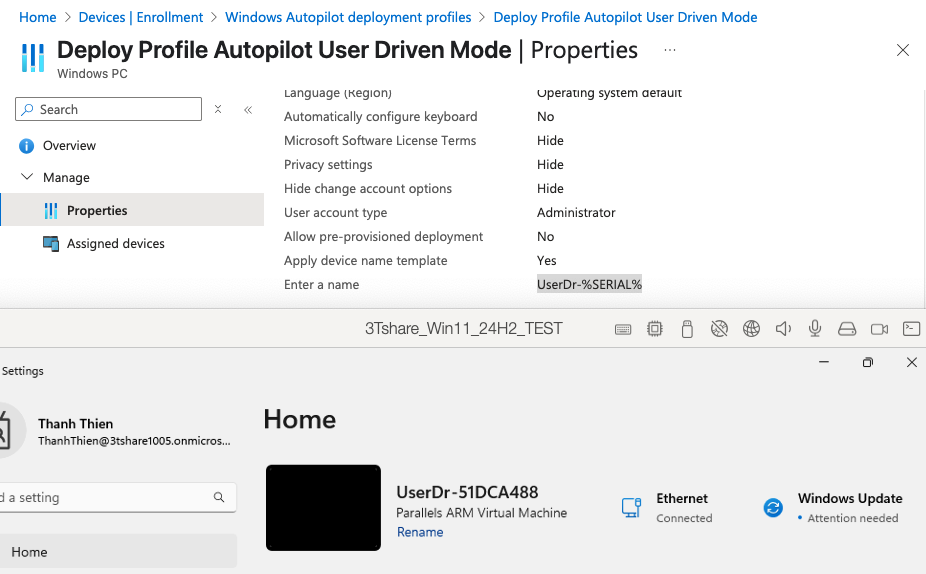
Apply device name template: UserDr-%SERIAL%Next
9/ In the
Scope Tagstab, selectNext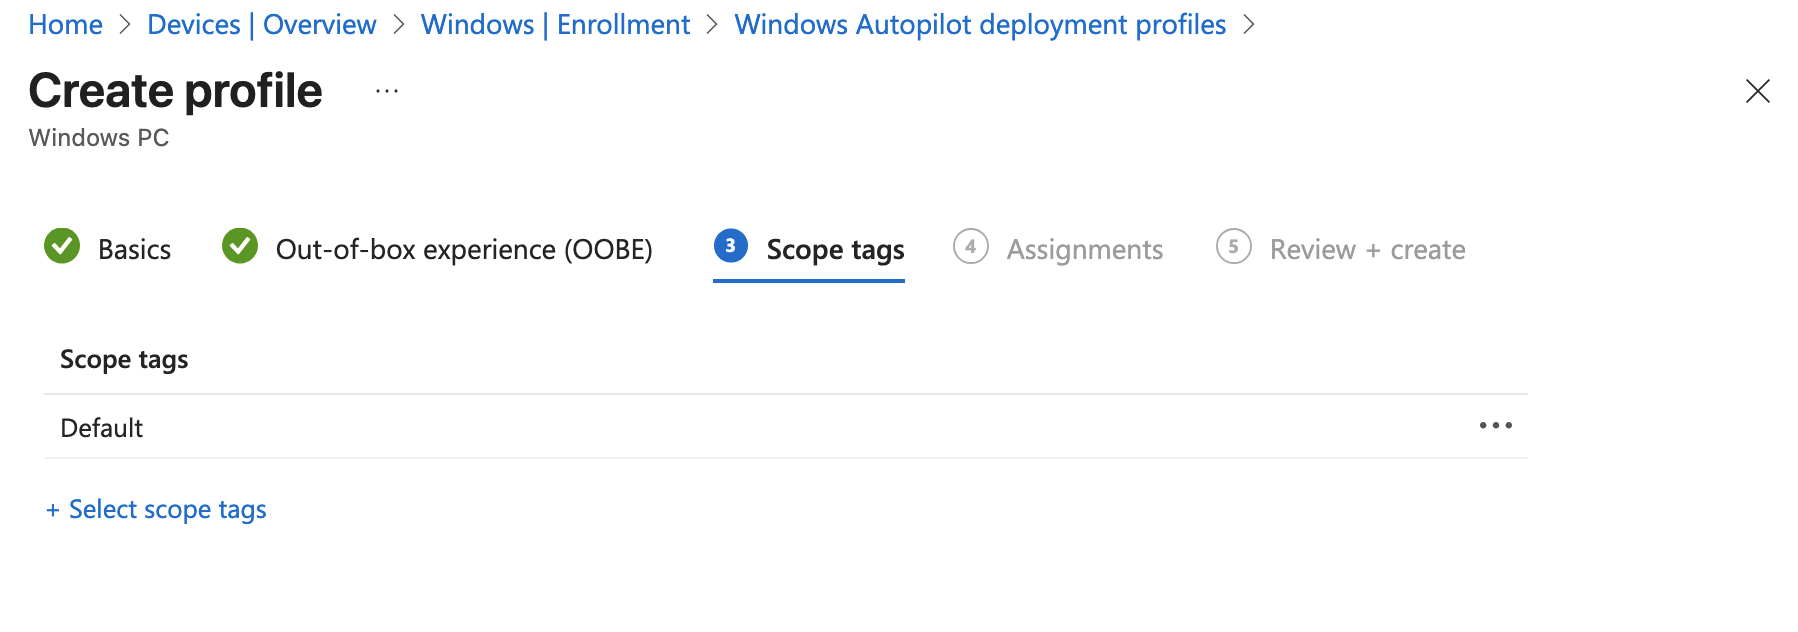
- 10/ In the
Assignmentstab
Under
Included groups, selectAdd groups.
select the group that created in the
Step 3 [All Autopilot Device]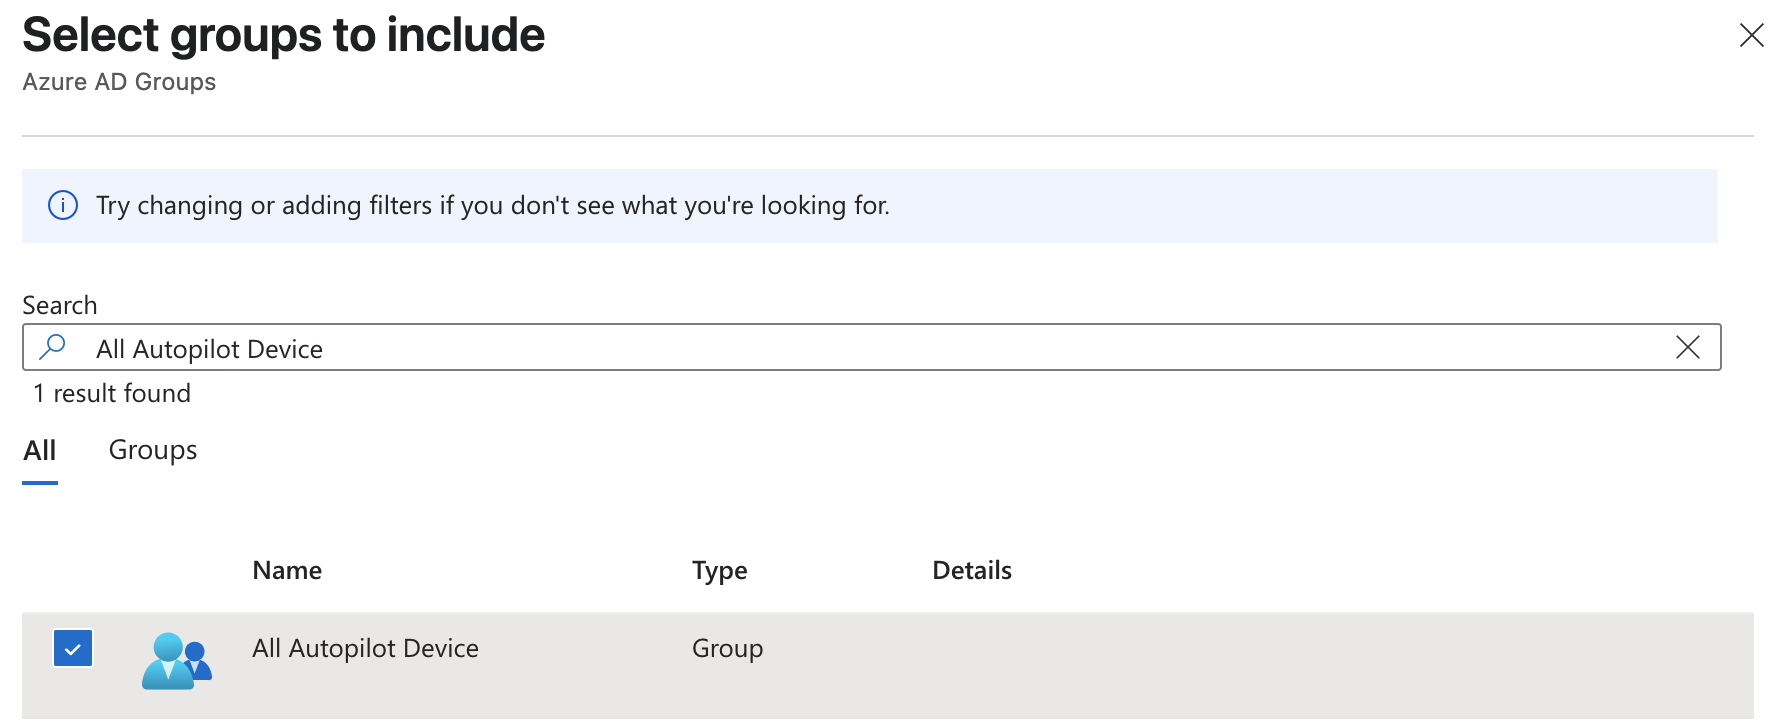
Next
11/ In the
Assignments,clickCreate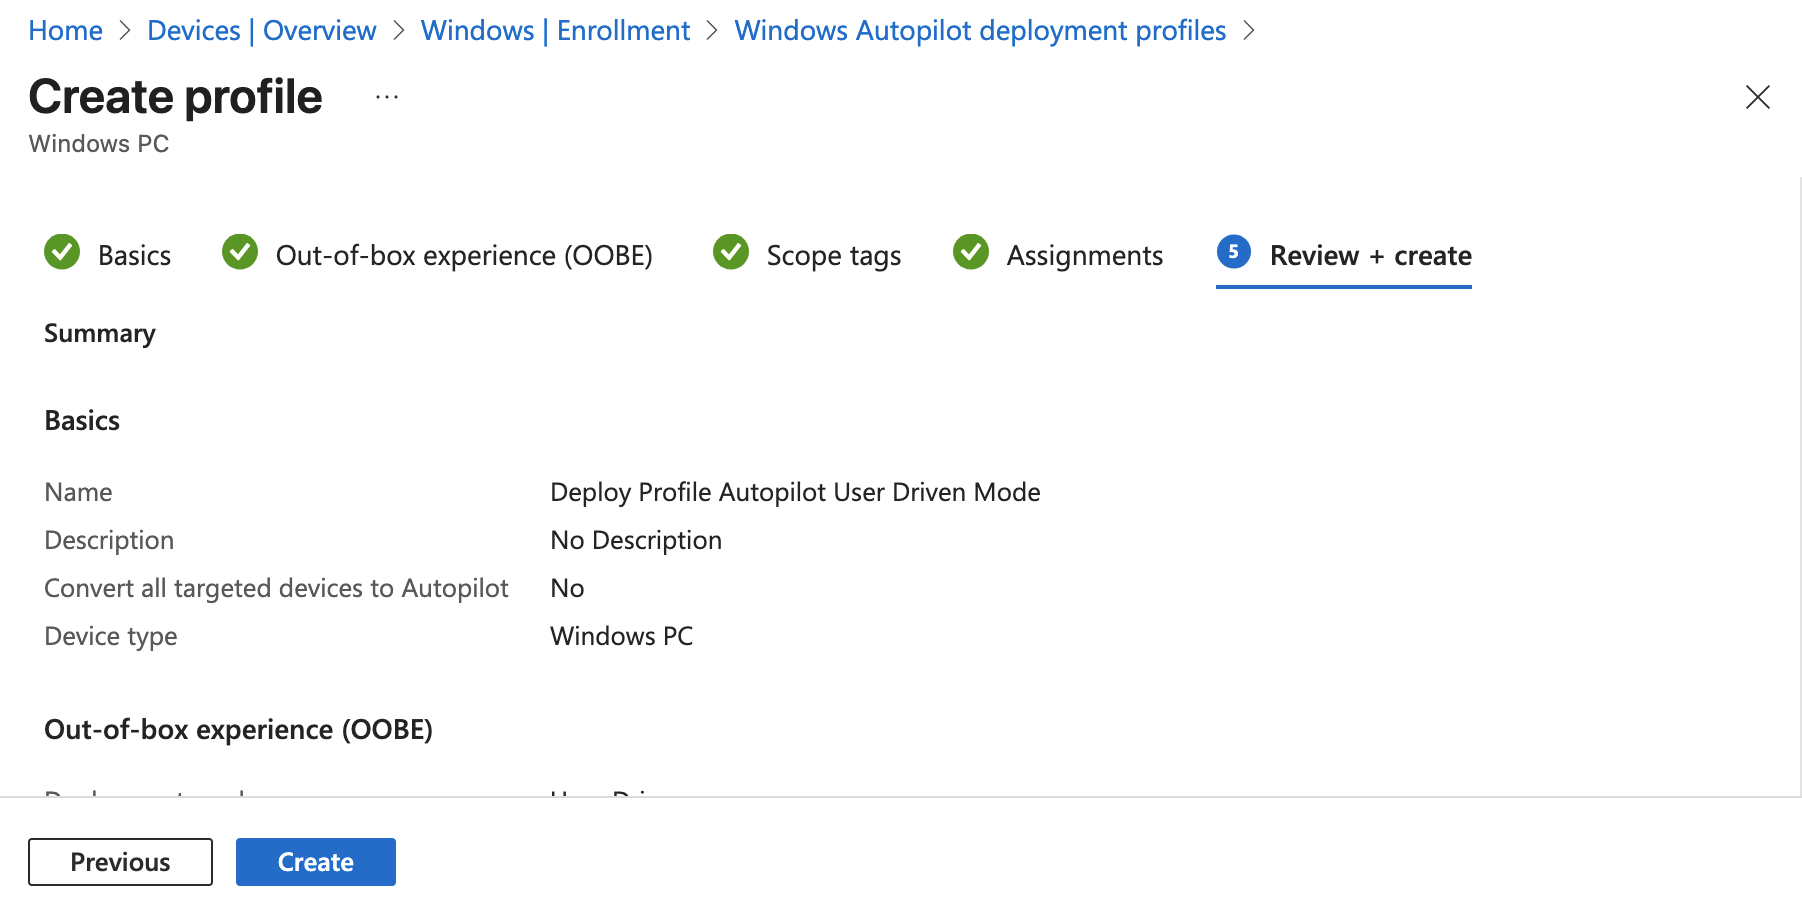
12/ Wait until the notification is successful
III. Admin Workflow
Before a device can use Windows Autopilot, the device must be registered as a Windows Autopilot device. Registering a device as a Windows Autopilot device makes the Windows Autopilot service available to the device.
Step 1: Register devices as Windows Autopilot devices
We use the [upload hardware directly] method to register a target device into autopilot service
- 1/ On a device that is currently undergoing Windows Setup and OOBE:
At the select country and region screen, press keys
Shift+F10.
The command prompt window will open
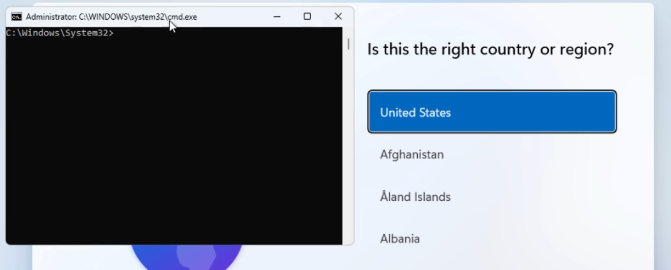
In the cmd windows, open PowerShell by running the following command:
PowerShell Command¶powershell.exe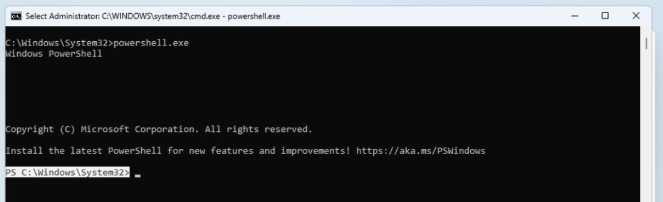
- 2/ At the PS PowerShell command prompt, run the following PowerShell commands:
PowerShell
PowerShell Command¶Set-ExecutionPolicy -Scope Process -ExecutionPolicy RemoteSigned Install-Script -Name Get-WindowsAutopilotInfo -Force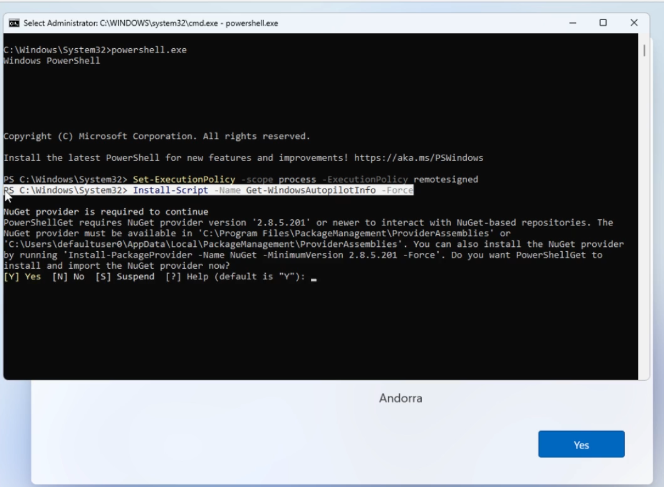
If prompted to do so, agree to install
NuGetfrom thePSGallery,enterYes(Y)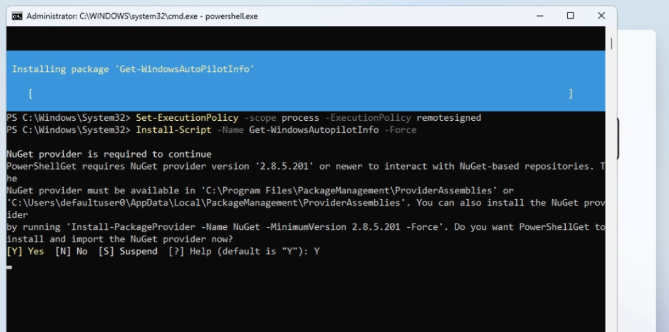
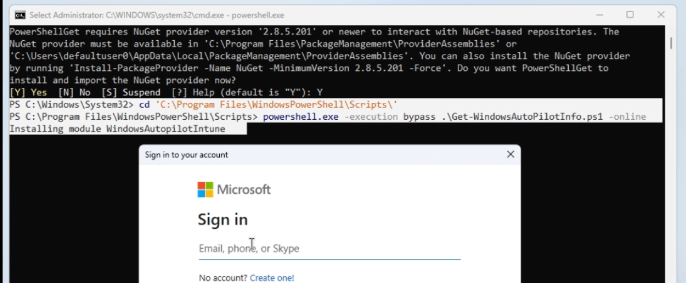
After install the module, run the commands below
PowerShell Command¶cd 'C:\Program Files\WindowsPowerShell\Scripts\' powershell.exe -execution bypass Get-WindowsAutopilotInfo.ps1 -Online
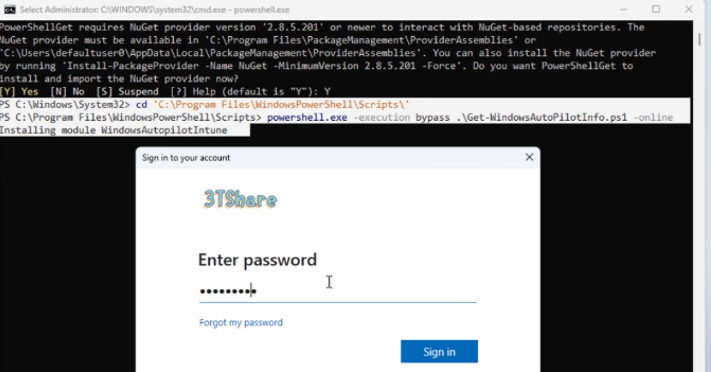
3/ When the last command of Get-WindowsAutopilotInfo -Online runs, a Microsoft Entra ID sign-on prompt is displayed. Sign in with an account that is at least an Intune Administrator.
4/ After the sign-in is successful, the device hash uploads automatically.
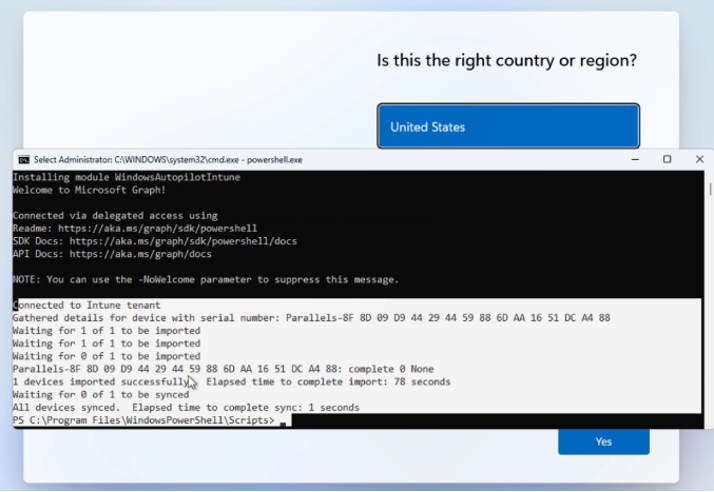
5/ Make sure that uploading hash is successful
Step 2: Verify device has a Windows Autopilot profile assigned to it
1/ Sign into the Microsoft Intune admin center.
2/ In the
Homescreen, selectDevicesin the left hand pane.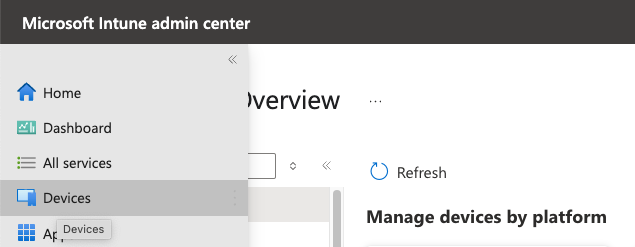
3/ In the
Devices | Overviewscreen, underBy platform, selectWindows.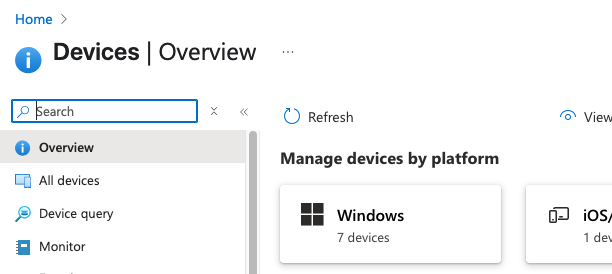
4/ In the
Windows | Windows devicesscreen, underDevice onboarding, selectEnrollment.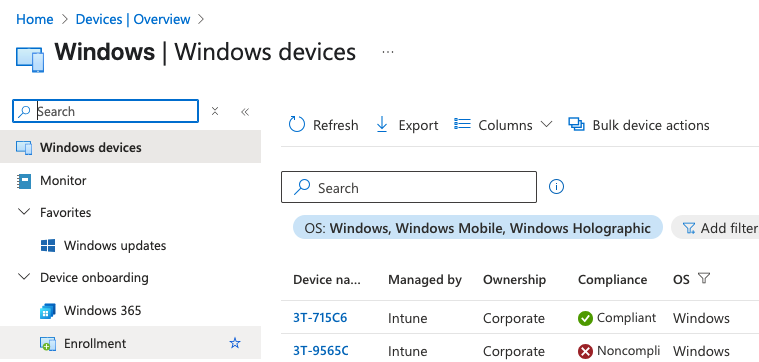
5/ In the
Windows | Windows enrollmentscreen, underWindows Autopilot, selectDevices.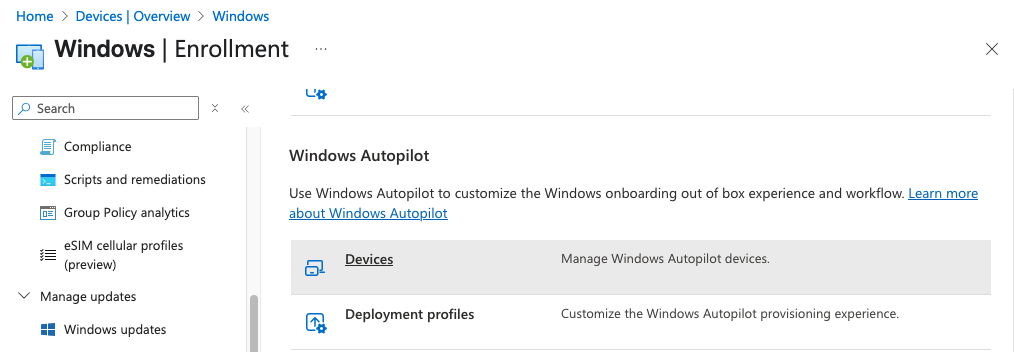
6/ In the
Windows Autopilot devicesscreen, selectSyncin the toolbar.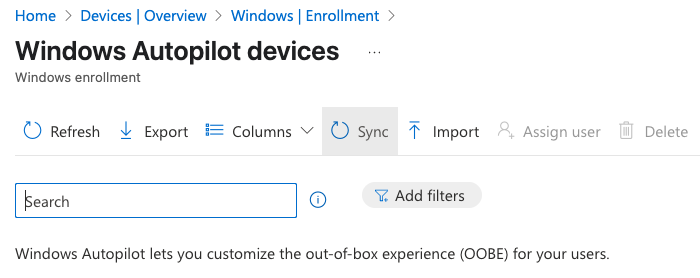
7/ Wait for the sync to finish. The sync might take several minutes.
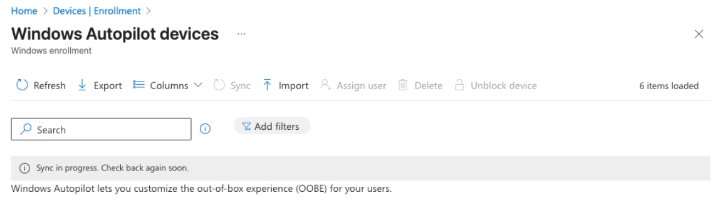
8/ After the sync completes > Search the serial number of target device at the search bar
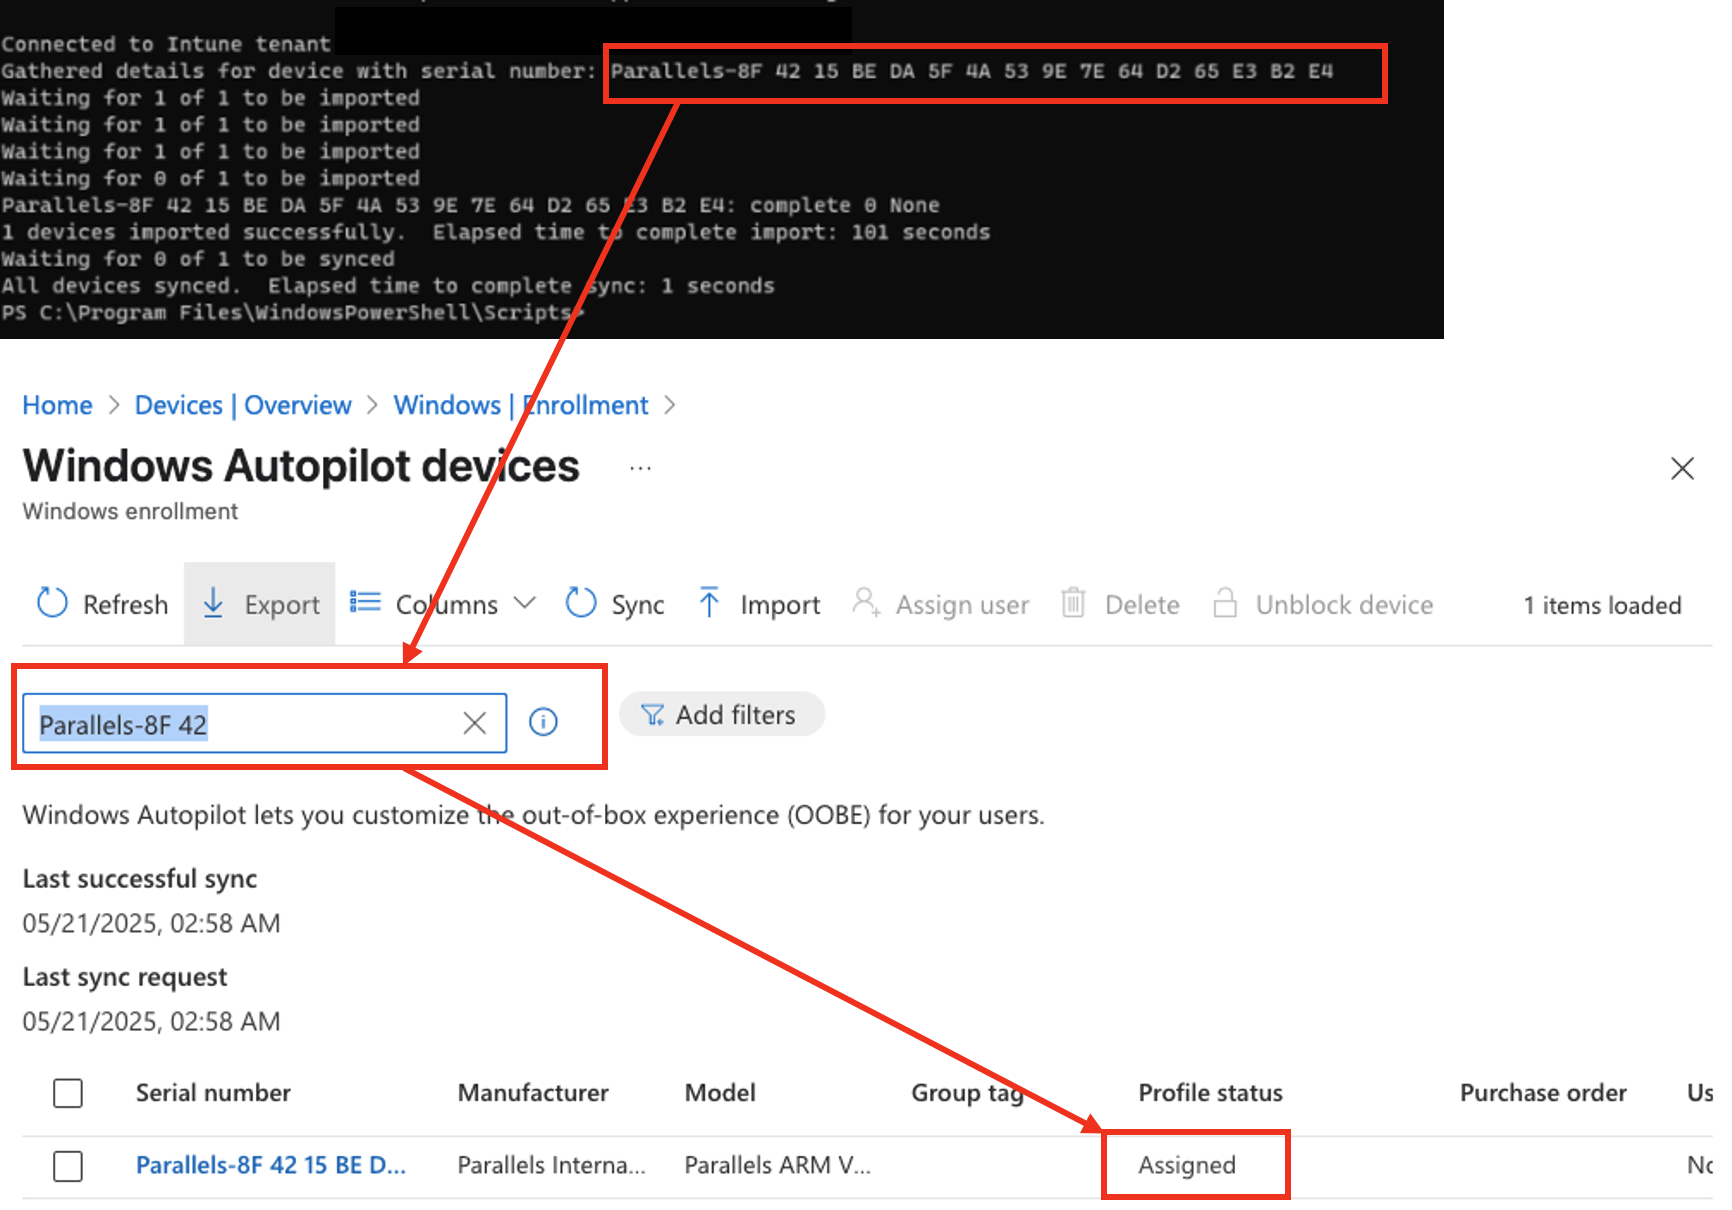
9/ Make sure the profile status is assigned like the picture above
IV. User Workflow OR User experience
Registering a device as a Windows Autopilot device just makes the Windows Autopilot service available to the device. Registering a device as a Windows Autopilot device doesn’t mean that the device has used the Windows Autopilot service. It just makes the Windows Autopilot service available to the device.
Step 1: Deploy the device
Power on the device.
2. The out-of-box experience (OOBE) begins and a screen asking for a country or region appears.
Select the appropriate country or region, then select Yes.
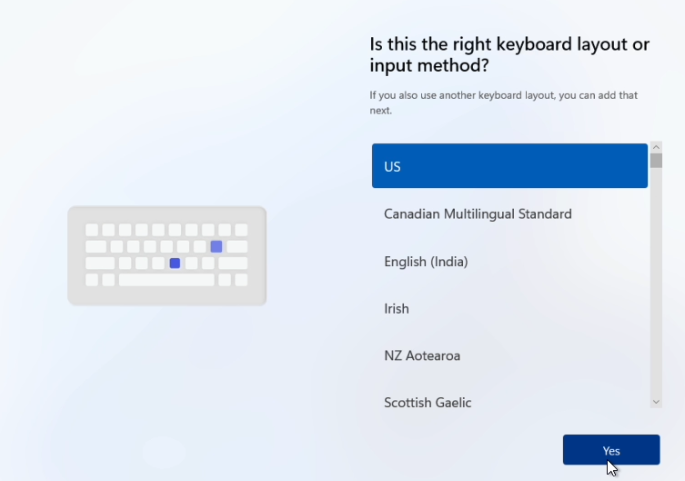
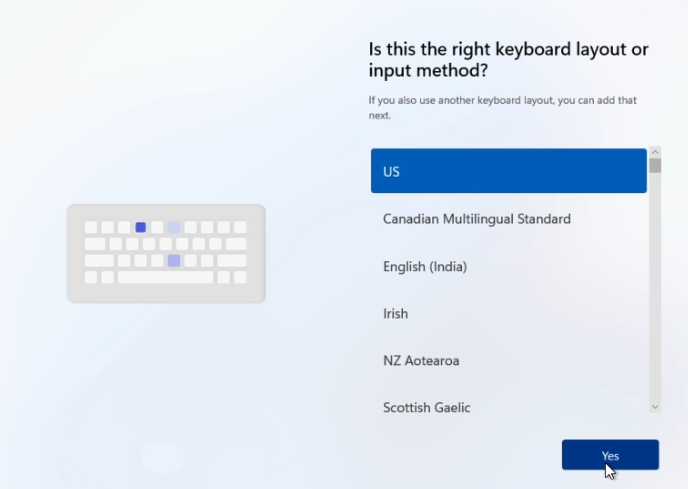
3. The keyboard screen appears to select a keyboard layout.
Select the appropriate keyboard layout, then select Yes.
An additional keyboard layouts screen appears, select
Skip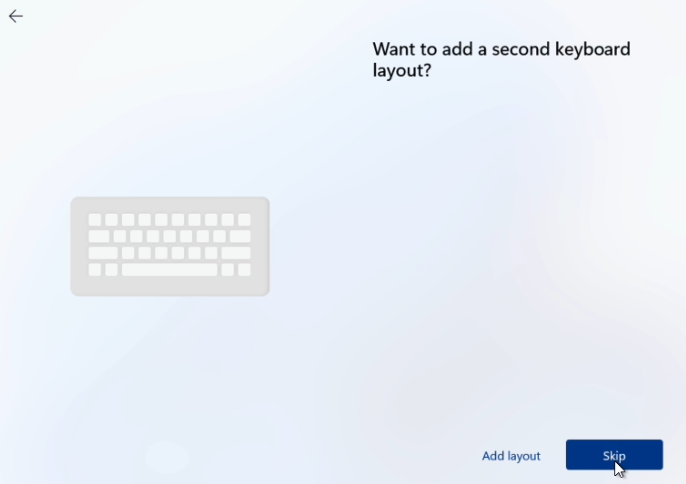
5. The Let's connect you to a network screen appears.
At this screen, either plug the device into a wired network (if available), or select and connect to a wireless Wi-Fi network.
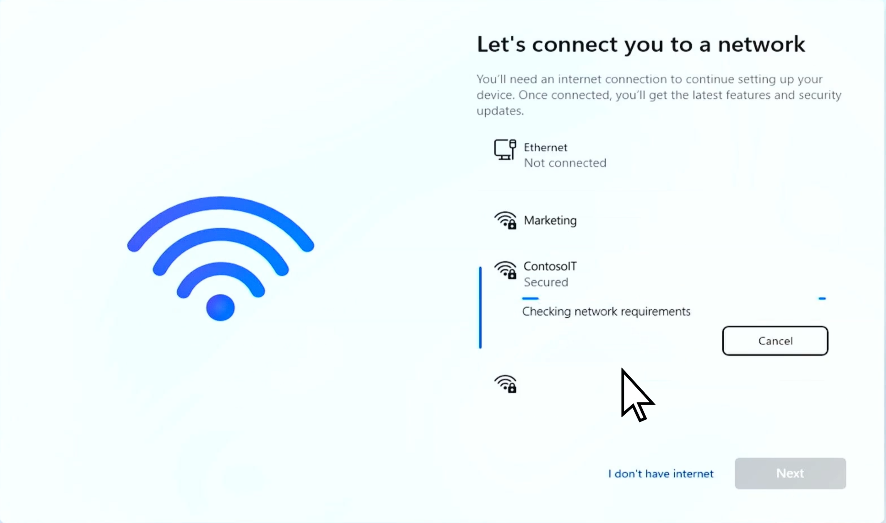
6. Once network connectivity is established, the Next button should become available.
Select Next.
7. At this point, the device might reboot to apply critical security updates (if available or applicable).
After the reboot to apply critical security updates, the Windows Autopilot process begins.


Once the Windows Autopilot process begins, the Microsoft Entra sign-in page appears, Sign-in with your
org account,selectSign in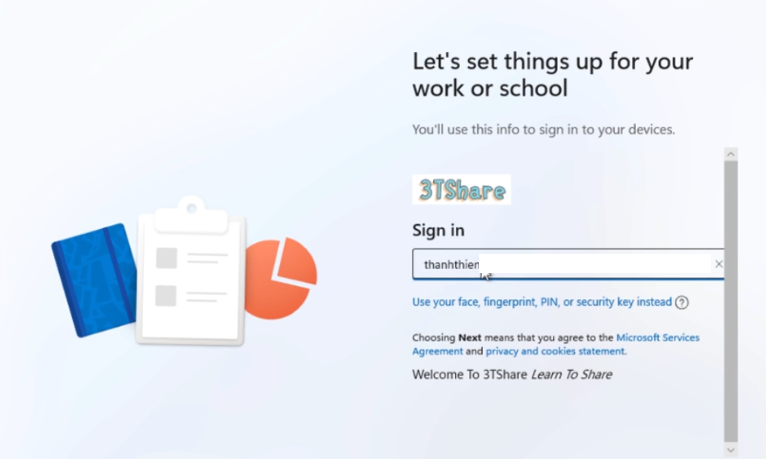
9. After authenticating with Microsoft Entra ID, the Enrollment Status Page (ESP) appears. The Enrollment Status Page (ESP) displays progress during the provisioning process across three phases:
Device preparation(Device ESP)
Device setup(Device ESP)
Account setup(User ESP)The first two phases of
Device preparationandDevice setupare part of the Device ESP while the final phase ofAccount setupis part of the User ESP.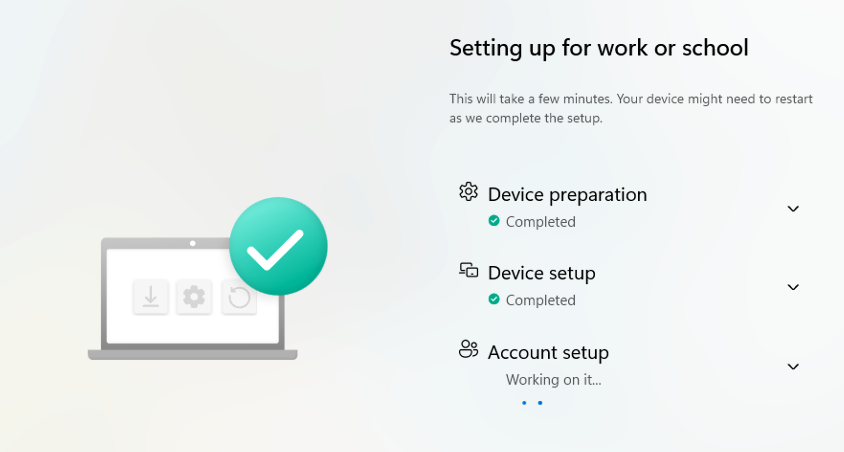
10. Once Account setup and the user ESP process completes, the provisioning process completes, the ESP finishes, and the desktop appears.
At this point, the end-user can start using the device.

Ensure the device already has the Zoom app installed, you can see it it the desktop screen Day 1: Windows Autopilot User-Driven Mode

You can check the hostname, make sure that the device name follows the format UserDr-%SERIAL%